Erasing an unnecessary portion for copying
To copy after erasing text and shadows in the margins of an original ([Frame Erase])
To display:
- [Copy]
- [Application]
- [Erase]
- [Frame Erase]
- [Erase]
- [Application]
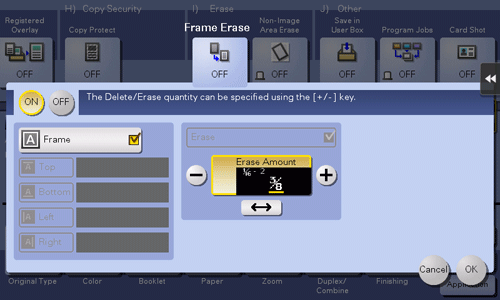
Erases the four sides of the original by the same width amount. You can also erase the four sides of the original to different widths.

Settings | Description |
|---|---|
[ON]/[OFF] | Select [ON] to specify Frame Erase. |
[Frame] | Select this option to erase the four sides of the original to the same width. In [Erase Amount], tap [+]/[-] for the inch area, tap [+]/[-] or Keypad for the centimeter area to specify the width of the area to be erased. To display the Keypad, tap the input area for the numeral. |
[Top]/[Bottom]/[Left]/[Right] | Select this option to erase the four sides of the original to different widths. Clear the [Frame] check box, select a side ([Top], [Bottom], [Left] or [Right]) and specify the width of the area in [Erase Amount] by tapping [+]/[-] for an inch area and by tapping [+]/[-] or Keypad for a centimeter area. To display the Keypad, tap the input area for the numeral. If you do not want to erase the side, cancel the setting for [Erase]. |
To prevent the area other than a thick original such as a book from being blackened ([Non-Image Area Erase])
To display:
- [Copy]
- [Application]
- [Erase]
- [Non-Image Area Erase]
- [Erase]
- [Application]
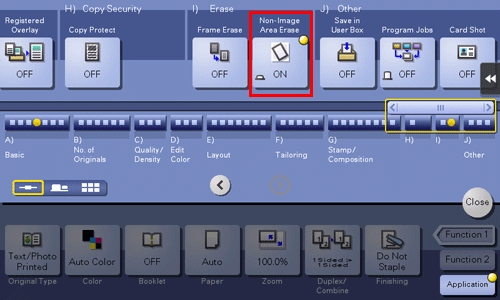
When making copies with the ADF open and the original placed on the Original Glass, the machine detects the outline of the original and erases the area outside the original.

The scanning area on the Original Glass is the same as the paper size to be copied. Place the original within the scanning area.
The size of the original automatically detected is 3/8 inch
 3/8 inch (10 mm
  10 mm) or larger. If the detection fails, a blank sheet of paper is output.
The top or end of the original image may be cut off.

