
Overview of Output Setting
By mounting output options, a variety of modes can be output with output settings.
For details about available settings when each option is mounted, refer to the following page.
Settings used for all options->Setting Bind Direction for 2-Sided Copies
When Saddle Stitcher SD-506 mounted->Using Saddle Stitcher SD-506
When Folding Unit FD-503 mounted->Using Folding Unit FD-503
When Perfect Binder PB-503 mounted->Using Perfect Binder PB-503
When Large Capacity Stacker LS-506 mounted->Using Large Capacity Stacker LS-506
When Finisher FS-532 mounted->Using Finisher FS-532
Multi Puncher GP-501 mounted->Using Multi Puncher GP-501
Auto Ring Binder GP-502 mounted->Using Auto Ring Binder GP-502
To Display the Output Setting Screen
Press [COPY] tab on the screen.
Press [Output Setting] on the [COPY] screen.
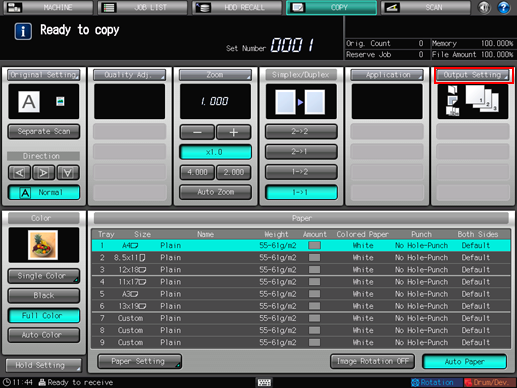
The [Output Setting] screen is displayed.
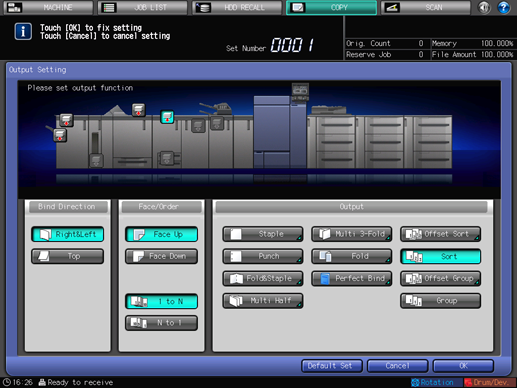
Pressing a function key displays its particular screen for setting the function in detail. Various functions can be used in combination, however, if one function on the menu is incompatible with another, it appears grayed out.
To resume the previous copy conditions, press [Cancel]. Press [Function OFF] to cancel the function with the current setting saved. To resume the default setting, press [Default Set].
To resume the default setting for all copying features including [output settings], press Reset on the control panel.
Press [OK] on the [Output Setting] screen to return to the [COPY] screen.

You cannot start printing with the [Output Setting] screen displayed. Return to the [COPY] screen, then press Start on the control panel.
Key for Sample Print
The [Execute Sample Print] button is displayed on the [MACHINE] screen while printing is in progress. Press the key at the desired moment to output the same image as that currently printed to the secondary tray, so that you can check the quality of printed image at that time.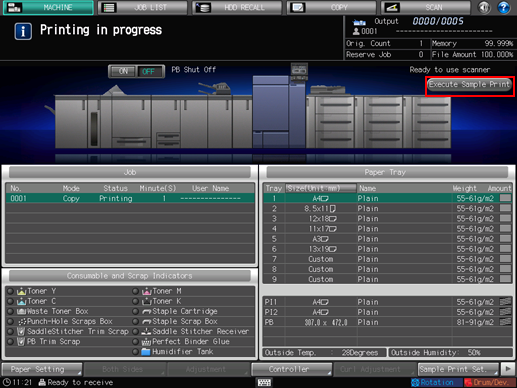
The [Sample Print Set.] button on the [MACHINE] screen allows you to previously set the Sample Print function before starting an output job. With this function set, the machine automatically delivers a sample print in specified cycle during the output job.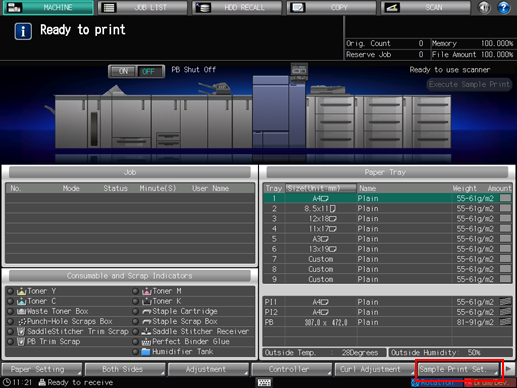

For details about Sample Print, refer to the following.