
Sending to an SMB Server
When you send scan data to an SMB server, procedures vary depending on whether or not the SMB server is registered in advance.
When an SMB Server is Already Registered
Press [SCAN] tab.
Press [SMB].
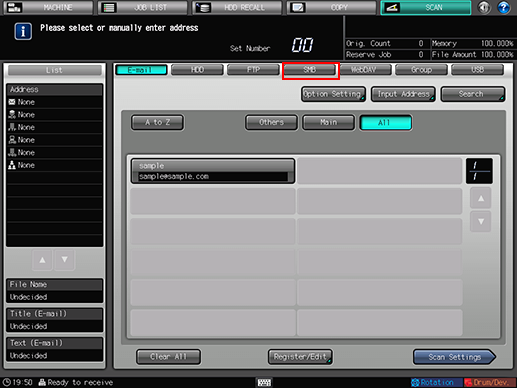
As default, the E-mail address list is displayed. The default destination tab of the [SCAN] screen can be set at Utility/Counter - [User Setting] - [Scan Setting]. For details, refer to Scan Setting: Setting the Default Values for Scan Functions.
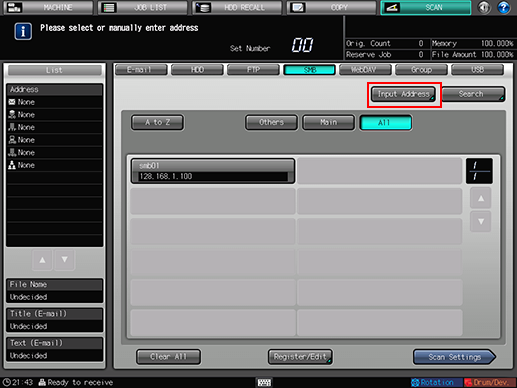
Press the name of the destination SMB server.
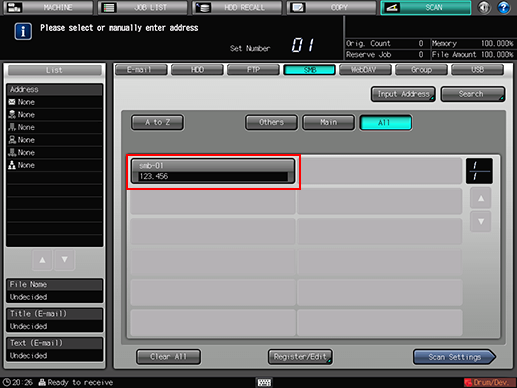
The selected destination is displayed in [List] at the left side of the screen.
You can filter the registered address by the search function. For details, refer to Using the Search.
You can filter the register name by using [A to Z], [Others], or [Main]. For details, refer to SCAN Screen.
To deselect the Name, press the selected Name again.
To manually enter a destination, refer to "When an SMB Server is Not Registered."
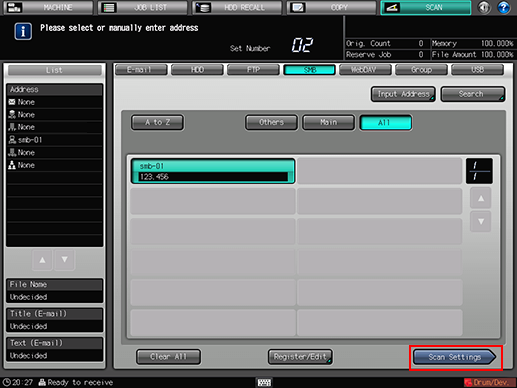
Press [Scan Settings].
Set the scan conditions.
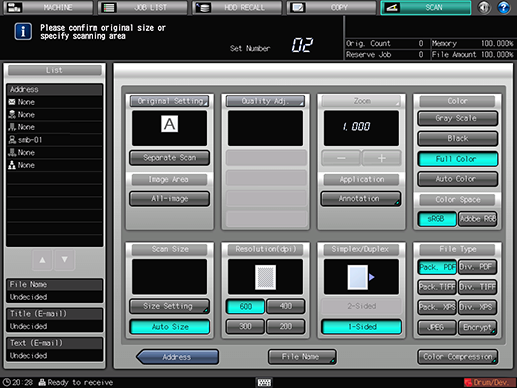
For details, refer to Scan Settings Screen.
Press [File Name] if you want to specify the file name.
Set an original, and then press Start on the control panel.
The original is scanned, and the scan data are saved to an specified address.
To return to the [SCAN] screen, press [Address].
The settings on the Scan Settings screen and the address selected on the [SCAN] screen may remain until the machine is restarted. It is recommended to release the setting and address once the operation is completed.
To clear the setting, press Reset on the control panel when the Scan Settings screen is displayed. To clear the address, press [Address] to return to the [SCAN] screen, and then press [Clear All], or press Reset on the control panel.
When an SMB Server is Not Registered
Perform steps 1 and 2 as described in "When an SMB Server is Already Registered."
Press [Input Address].

To select a registered address, refer to "When an SMB Server is Already Registered."
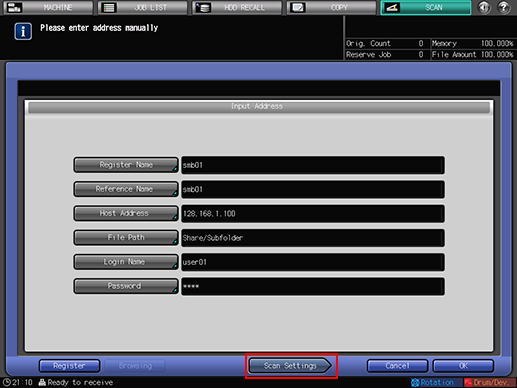
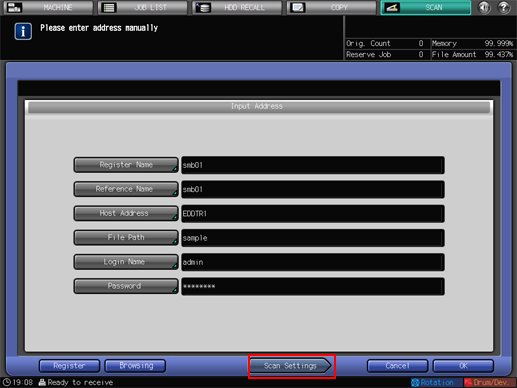
Press [Register Name], and then input a register name.
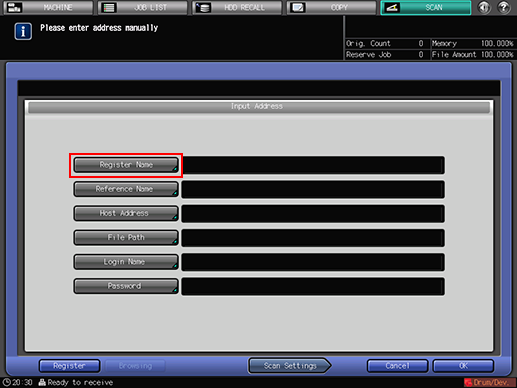
The name is automatically input in [Reference Name]. If you want to change the Name, press [Reference Name] and input the Name again.
For details about how to enter characters, refer to Inputting Characters.
Press [Host Address], and input a host address.
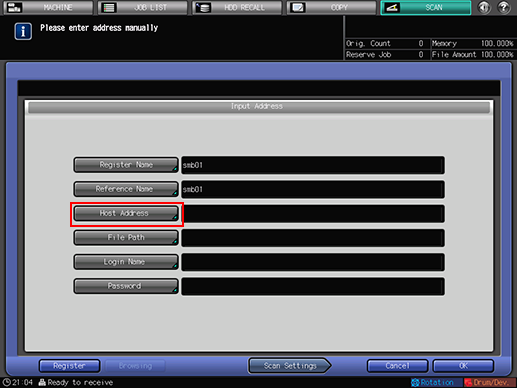
Pressing [Host Address] displays the Enter Text screen.
For details about how to enter characters, refer to Inputting Characters.
Press [File Path], and then input a file path.
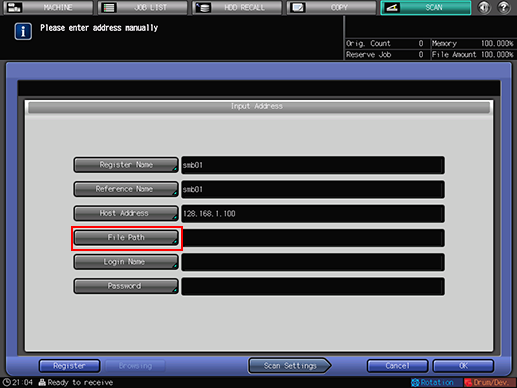
Pressing [File Path] displays the Enter Text screen.
For details about how to enter characters, refer to Inputting Characters.
Press [Login Name], and then input a login name.

Pressing [Login Name] displays the Enter Text screen.
For details about how to enter characters, refer to Inputting Characters.
Press [Password], and input a password.
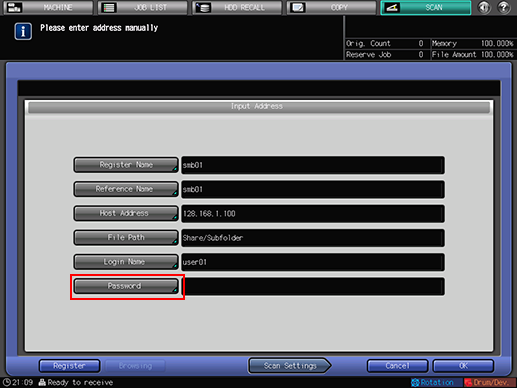
Pressing [Password] displays the Enter Text screen.
For details about how to enter characters, refer to Inputting Characters.
The input password is shown by "*".
Press [Register] to register the inputted SMB server.
Press [Scan Settings].
Perform steps 5 and on as described in "When an SMB Server is Already Registered."
To Search for an SMB Server from a Browsing List
Perform steps 1 and 2 as described in "When an SMB Server is Already Registered."
Press [Input Address].
To select a registered address, refer to "When an SMB Server is Already Registered."
The [Manual Input of Address] screen is displayed.
Press [Browsing].
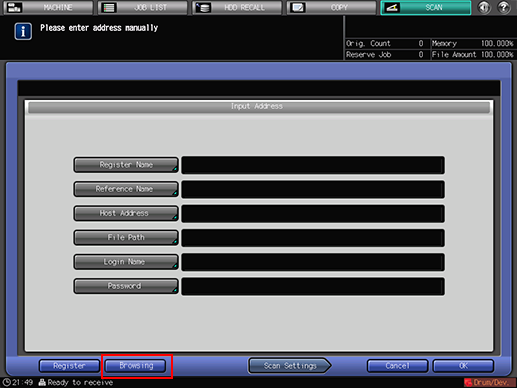
Press [Browsing] to display the browsing list for networks.
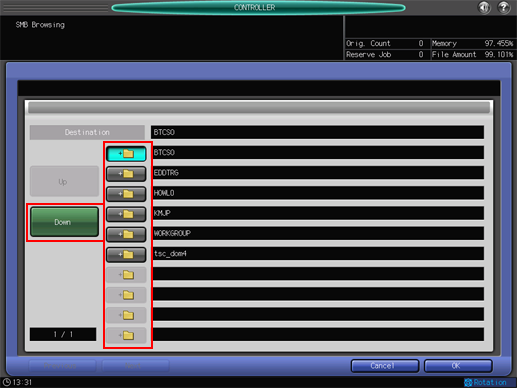
Select a workgroup name and press [Down].
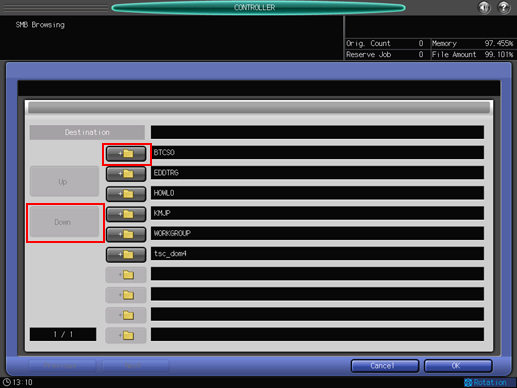
When the list consists of more than one page, you can move between pages by pressing [Previous] or [Next].
It can display up to 512 workgroups.
Select a workgroup name and press [Down].
When the list consists of more than one page, you can move between pages by pressing [Previous] or [Next].
Press [Up] to move to the upper level.
It can display up to 512 computers.
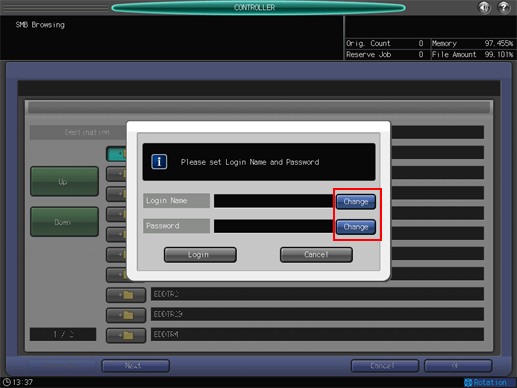
The authentication screen is displayed. Press [Change] for both the login name and password, and then input the authentication information.
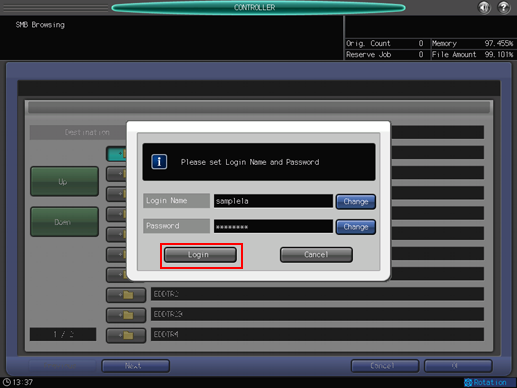
Press [Login].
Select a destination folder, and then press [OK].
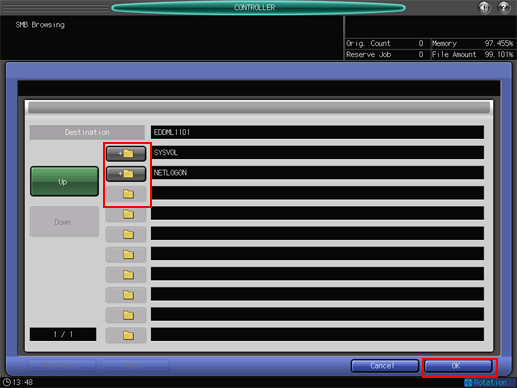
Press [Up] to move to the upper level.
It can display up to 256 folders.
You can specify a file path up to 80 one-byte characters (40 two-byte characters).
Press [Scan Settings].
Perform steps 5 and on as described in "When an SMB Server is Already Registered."