Replacing an Imaging Unit
The following example shows how to replace a yellow Imaging Unit.
Be sure to replace an Imaging Unit with an unused product. If an Imaging Unit is replaced with a used one, the message window may not be cleared.
 NOTICE
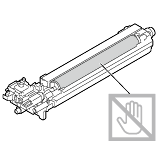
 Do not touch the surface of the OPC drum. Doing so may reduce printing quality.
 CAUTION
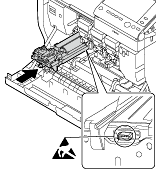
- Do not touch the copper terminal of the Imaging Unit. Doing so may lead to static electricity damaging the product.
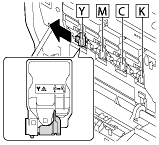
Check the color of the Imaging Unit to be replaced in the message window of the Control Panel.
Open the Front Door.
Pull the lever at the front of the Toner Cartridge to the left.
Hold the handle of the Toner Cartridge, then pull out it.
 Inclining the Toner Cartridge may cause toner to spill.
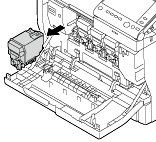
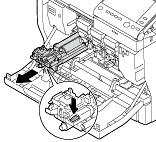
Press up the Waste Toner Bottle to unlock.
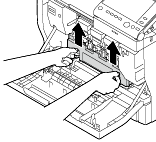
Hold the handles at the right and left of the Waste Toner Bottle, then carefully pull out the Waste Toner Bottle.
Inclining the Waste Toner Bottle may cause toner to spill.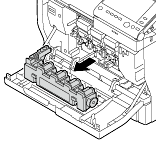
While holding down the tab of the Imaging Unit to be replaced, pull out the Imaging Unit.
Check the color of the new Imaging Unit.
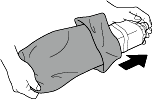
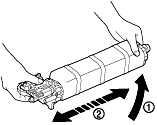
Take the Imaging Unit out of the bag.
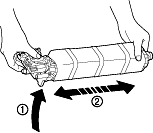
Hold a new Imaging Unit with both your hands, then shake it several times as shown in the figure.
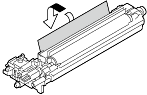
Remove the protection tape from the Imaging Unit, then take off the protection paper (black).
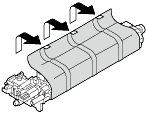
Remove the protection tape from the Imaging Unit, then take off the protection paper.
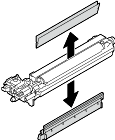
Remove the holding sheet and protection materials from the Imaging Unit.
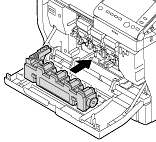
Check that the color of the new Imaging Unit matches that of the insertion slot in the main unit, then push the Imaging Unit to the back.
 CAUTION
- Do not touch the copper terminal of the Imaging Unit. Doing so may lead to static electricity damaging the product.
Push the Waste Toner Bottle to the back to lock it.
Check that the color of the Toner Cartridge matches that of the insertion slot in the main unit, then push the Toner Cartridge to the back.
Push the Toner Cartridge to the back.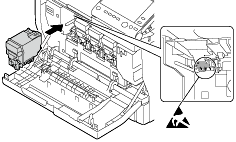 CAUTION
- Do not touch the copper terminal of the Toner Cartridge. Doing so may lead to static electricity damaging the product.
Pull the lever to the right to lock it.
Carefully return the lever at the front to its original position. If the lever is not returned to the original position, the Front Door is not closed.
Close the Front Door.
