Specifying a destination
Selecting from address book
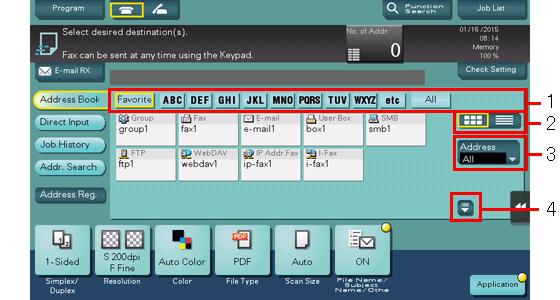
In [Address Book], select the destination registered on this machine.
You can send data by broadcast transmission if you select multiple destinations. You can also use broadcast transmission by combining different sending modes such as network fax and SMB Send.
For details on how to register a destination, refer to Here.
No. | Description |
|---|---|
1 | Narrow down destinations with the index specified for the registered destination. Using [Address] in combination further narrows down destinations.
|
2 | Switches the display of the registered destinations to the button or list view mode. If the list view mode is selected, you can sort destinations by registration number, destination type, or registered name. |
3 | Narrow down destinations by the type of the registered destination. Using also search text further narrows down destinations. |
4 | Expands the area when scrolling is required in the area where the registered destinations are displayed. |
If the destination is displayed with a button, you can change the button size. Changing to a larger size helps you read characters on the button and press the button. For details on the setting to change the button size, refer to Here.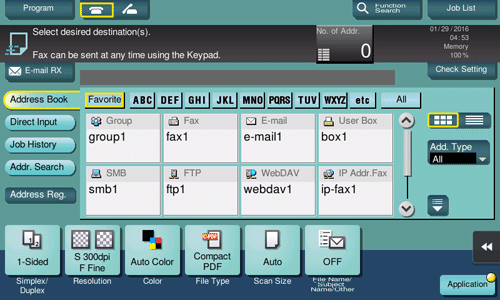


Specifying a group destination
When you frequently send data by broadcast transmission, it is convenient to use a group destination that groups multiple destinations.
When a group destination is selected in [Address Book], select the destinations you want send data among the destinations registered in the group. If there is certain destination that you want to delete from sending data among the destinations registered in the group, tap [Select All], then tap the target destination to deselect.
For details on how to register a group, refer to Here.

Searching for destinations
If a large number of destinations is registered, search for a destination by registration name or destination (E-mail address or computer name).
Tap [Addr. Search] - [Name Search] or [Address Search].
When searching for a destination by registration name, tap [Name Search].
When searching for a destination by E-mail address or computer name, tap [Address Search].
Enter the text you want to search for, then tap [Search].
Select the destination from the search result.
Direct input
In [Direct Input], tap the corresponding key of the destination type to which you want to save or send, then enter the destination information.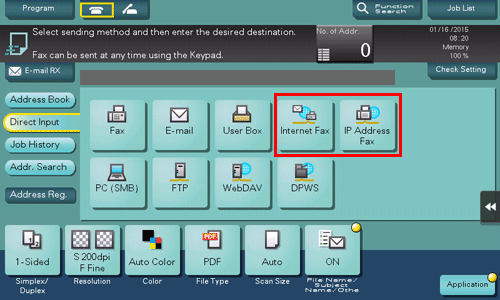
Purpose | Reference |
|---|---|
To send Internet fax | |
To send IP Address fax |

If necessary, you can register the destination that you have entered directly into the address book. For details, refer to Here.
Selecting from the history
In [Job History], select a destination from the history of scan transmission destinations or saved destinations.
The history shows the latest five fax destinations. When necessary, multiple destinations can be selected from the history.


If a registered destination or a User Box is edited or if the Main Power Switch is turned off or on, information of the history is deleted.
Searching for an E-mail address through the LDAP server
When the LDAP server or Windows Server Active Directory is used, search for an E-mail address through the server.
To use the LDAP server or Active Directory to specify the destination, you must register the server on this machine. The registration procedure is explained using Web Connection. For details, refer to Here.
Tap [Addr. Search] - [Address Search (LDAP)] or [Adv. Search (LDAP)].
When searching using a single keyword, tap [Address Search (LDAP)].
When searching by combining keywords in different categories, tap [Adv. Search (LDAP)].
Enter the keyword, then tap [Search].
Select the destination from the search result.
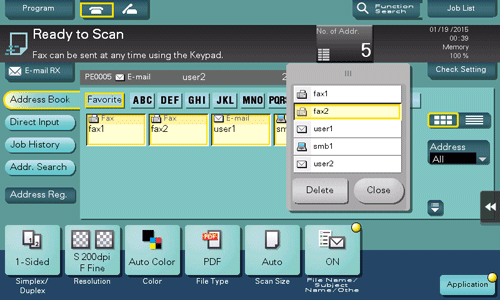
Displaying the broadcast destination list
To display the broadcast destination list and check or delete the specified destinations, specify multiple destinations, then tap [No. of Addr.]. The list display location can be moved by dragging the top of the list.