
Storing Scan Conditions
Follow the procedure below to register the scan job setting.
Available settings: Print Side, Quality Adjustment, Scan Size, Color/Resolution, Zoom Setting, Application
Stored job is given a job number (from 01 to 30) and alphabetical name (dispensable).
A maximum of 30 scan programs can be registered.
Press [SCAN] tab to display the [SCAN] screen.
Select an address and press [Scan Settings].
Settings of Mode Memory does not include a destination that you select here.
Select a destination only for displaying the Scan Settings screen.
Set the scan conditions.
Press Mode Memory on the control panel.
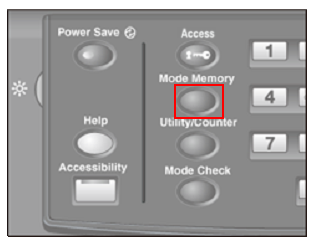
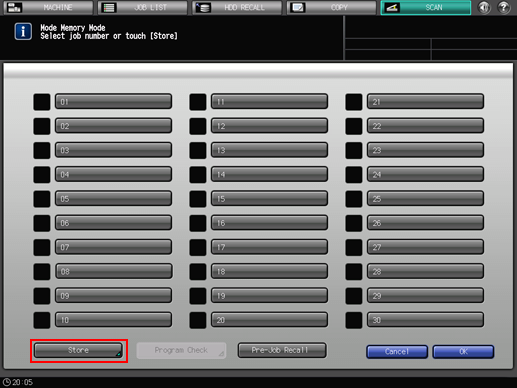
The [Mode Memory Mode] screen is displayed.
Press [Store].
The screen that shows the settings is displayed.
Review the settings to be stored.
To change the settings to register, press [Cancel] on the screen that shows the settings, and then press [Cancel] on the [Mode Memory Mode] screen. The screen returns to the screen that shows the scan settings. On the screen, change scan conditions.
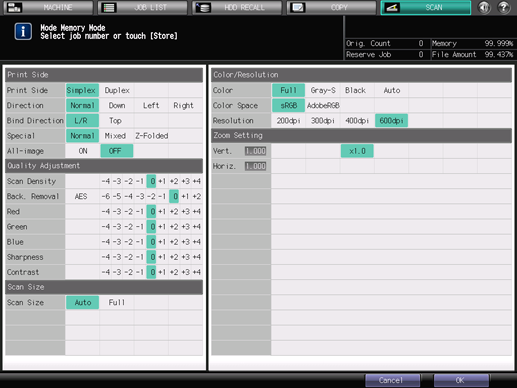
Press [OK].
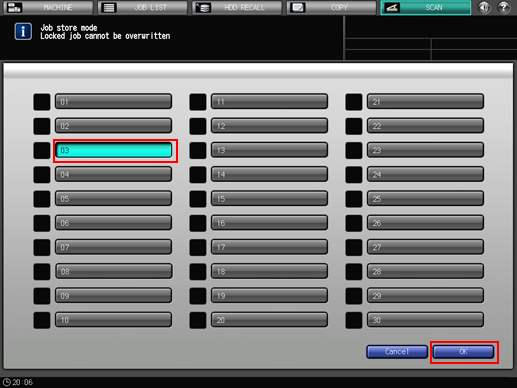
The Job store mode screen is displayed.
Press the desired job key, then press [OK].
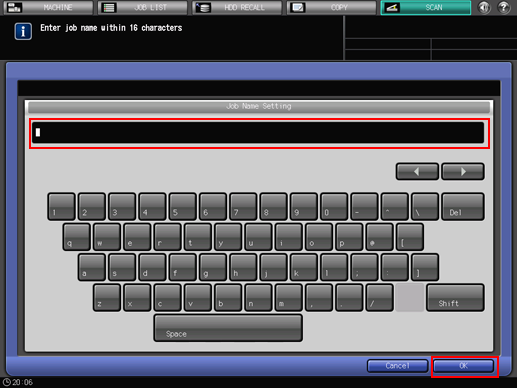
The [Job Name Setting] screen is displayed.
If a button name is
Not displayed: No scan conditions are registered.
Displayed: Scan conditions are registered.
If a lock icon (
 ) is
) is
Not displayed: Scan conditions can be registered by overwriting.
Displayed: Scan conditions cannot be registered.
Enter a job name, then press [OK].
Enter a job name within 16 one-byte characters (8 two-byte characters).
Press [OK] to return to the [Mode Memory Mode] screen. The job button displays the entered job name.
For details about how to enter characters, refer to Inputting Characters.
Be sure to input a job name. The job name must be inputted to return to the [Mode Memory Mode] screen by pressing [OK].
Press [OK] on the [Mode Memory Mode] screen.
This returns to the [SCAN] screen.