
Folder Setting
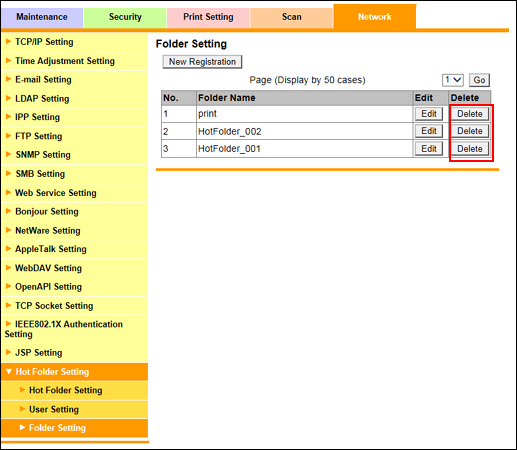
Click [Hot Folder Setting] - [Folder Setting] in the [Network] tab to display this screen.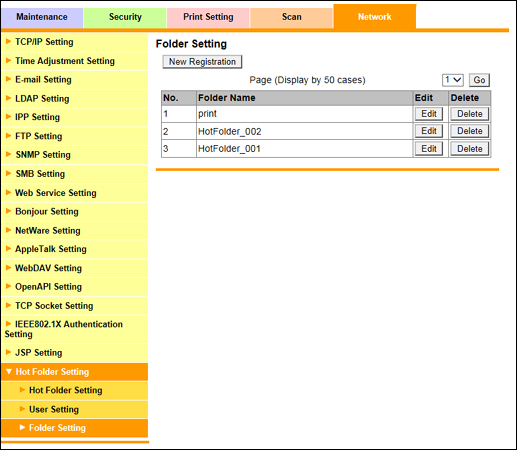
This screen allows you to register a new Hot Folder, and to edit or delete the registered users.
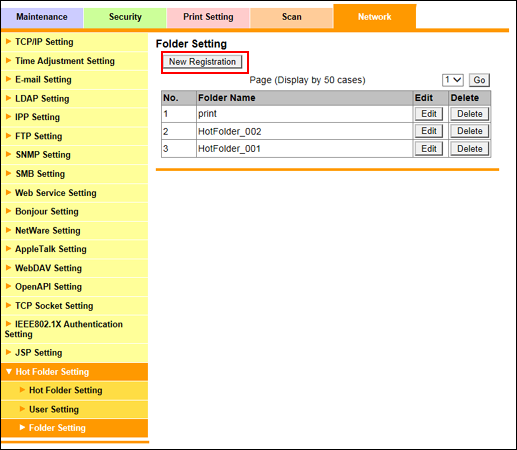
Registering a new Hot Folder
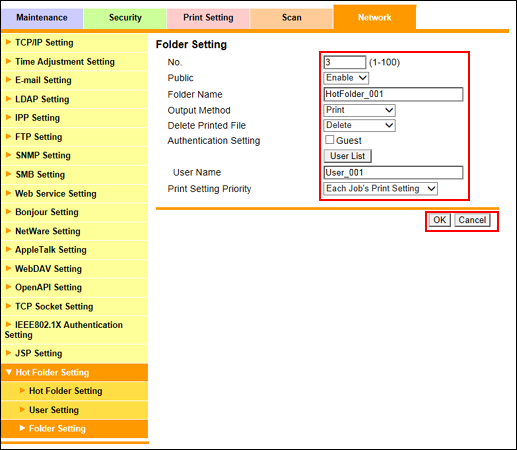
Click [New Registration].
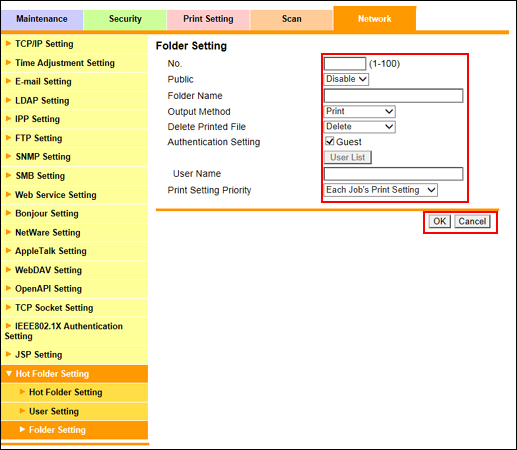
Make a setting for each item.
Item
Description
[No.]
Enter a free No.
[Public]
Select [Enable] to share the Hot Folder, or [Disable] to have it exclusive.
[Folder Name]
Enter a folder name.
[Output Method]
Select either print, save, or both print and save data in the folder.
[Delete Printed File]
Select whether or not to delete printed files.
[Authentication Setting]
To allow anyone to access the Hot Folder, check the [Guest] check box.
[User List]
Lists only users registered with both user name and user password in [User Setting]. Users selected on this list are displayed in [User Name].
[Print Setting Priority]
Select either to use the print setting specified for the Hot Folder or to use the print setting specified for each job.
Click [OK]. Clicking [Cancel] cancels the setting.
Click [OK] on the setting complete screen.
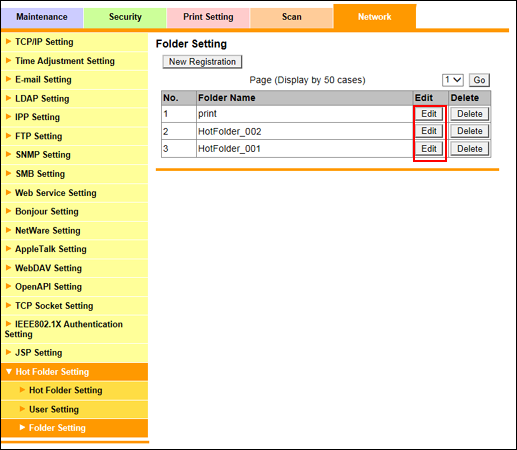
Editing a Hot Folder
Click [Edit] of the Hot Folder to be edited.
Enter a new content in the text box of the item to be edited.
Item
Description
[Print Setting]
If [Hot Folder Print Setting] is selected for [Print Setting Priority], you can edit the setting by clicking [Edit].
For details about items other than [Print Setting], refer to Registering a new Hot Folder.
Click [OK]. Clicking [Cancel] cancels the setting.
Click [OK] on the setting complete screen.

If you access a folder immediately after changing its folder settings, an OS error screen may be displayed. In that case, wait approximately 10 seconds before accessing it again.
Deleting a Hot Folder
Click [Delete] for a folder to be deleted.
Click OK on the confirmation screen. Click [Cancel] to cancel the deletion.
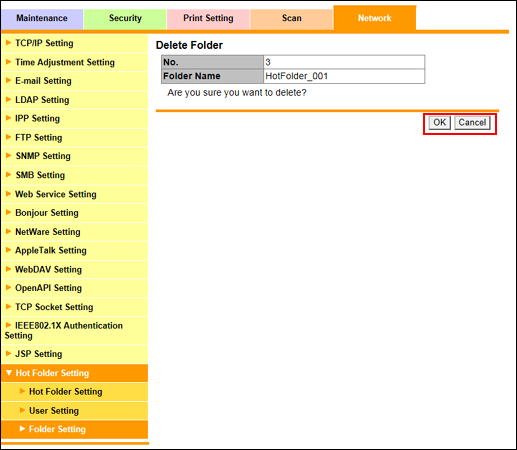
Click [OK] on the setting complete screen.