Checking the Finishing Before Copying
Checking the preview image before copying
You can check the finishing image on the screen before copying.
You can check the finishing image for setting errors, which will help prevent miscopies.
Load the original.
Display the Copy screen of classic style.
 For details on how to display the screen, refer to [Displaying the Copy Screen] .
Set copy options.
Tap [Preview] in the side menu.
Tap [Preview on Screen], and also select [Original Direction] to suit the original direction.

Tap [Start].
The original is scanned, and the Preview screen is displayed.
Check the preview display, and rotate the page or change settings as required.
To continue scanning originals, load the original, and tap [Start Scan].To start copying, tap [Print].To enlarge a preview image, tap the image twice quickly.To enlarge or reduce a preview image, pinch-in or pinch-out the image.To rotate an image 180 degrees, rotate the preview image.If a multi-page original has been scanned, you can flick the preview image to feed pages forward or backward.If you tap the tab key on the right of the screen, you can display or hide the setting key. Using the setting key enables you to enlarge or rotate a page.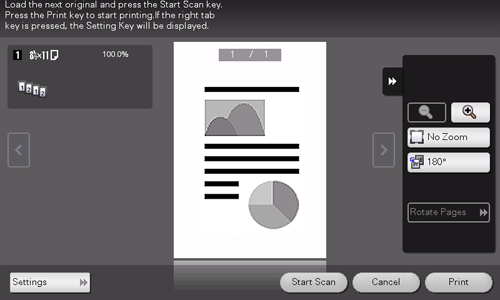
After all originals have been scanned, tap [Print].
Copying begins.
Making a trial printing (Proof copy)
Before beginning actual copying, do a single test copy and check it is acceptable.
When making a large number of copies, use the proof copy function to prevent a large number of miscopies from occurring.
Load the original.
Display the Copy screen of classic style.
For details on how to display the screen, refer to [Displaying the Copy Screen] .Set copy options.
Enter the number of copies using the keypad.
Tapping [No. of Sets] displays the keypad.To change the number of copies, tap [C] (Clear).Tap [Preview] in the side menu.
Tap [Print], and select [Original Direction] to suit the original direction.

Tap [Start].
If the original is loaded into the ADF, proceed to step 11. Copying begins for only one copy.If the original is loaded on the Original Glass, proceed to step 8.Load the next original, and use the Start key to start scanning.
After all originals have been scanned, tap [Finish].
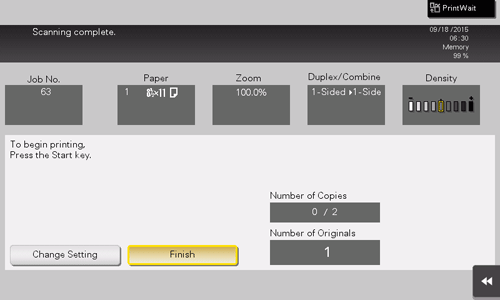
Use the Start key to start copying.
Copying begins for only one copy.
Check the proof copy.
If necessary, tap [Change Setting] to change the copy settings.Tap [Print].
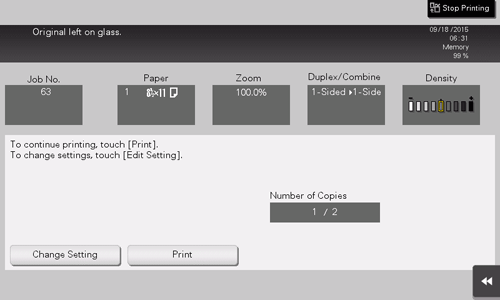
Copying begins for the remaining copies.