User's Guide

Checking the finish before sending
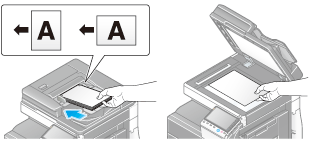
- Load the original.
- Tap [Scan/Fax].

- Enter a fax number.
- Configure the option settings for Fax TX as necessary.
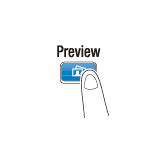
- Press Preview.
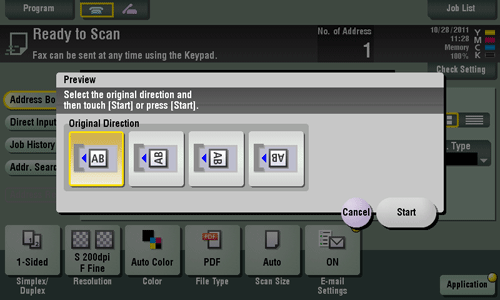
- Select the original direction.
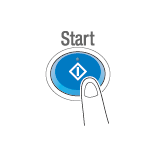
- Tap [Start] or press the Start key.
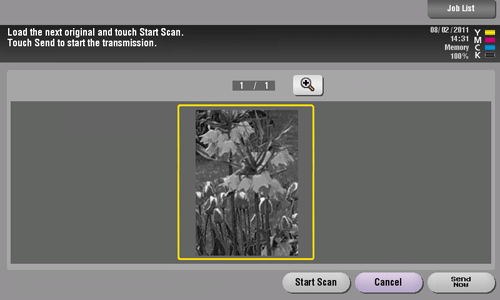
The original is scanned, and the Preview screen appears.
- Tap
 .
.
The screen used to change the preview display appears.- To continue to scan originals, load the original, and tap [Start Scan].
- To start sending, tap [Send Now] or press the Start key.
- Check the preview display, and rotate the image or change settings as needed.
- To continue to scan originals, load the original, and tap [Start Scan].
- When destinations other than those for faxes are also specified for the destinations, the preview appears with the window for changing the settings for the scan function selected. To check the fax preview, press [Fax] to switch the display.
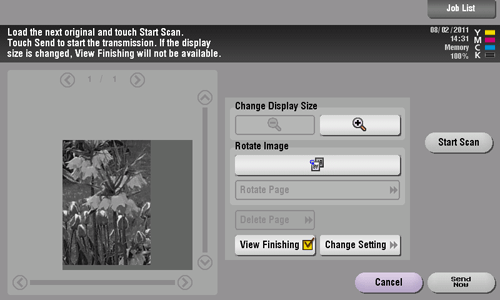
- After all originals are scanned, tap [Send Now] or press the Start key.
Sending starts.