User's Guide

How to Save
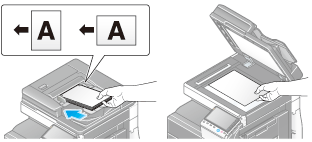
- Load the original.
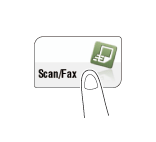
- Tap [Scan/Fax].
- Specify a User Box where to save data.
- For details on how to specify a destination, refer to Here.
- Specifying multiple destinations carries out the User Box filing and Fax TX functions simultaneously.
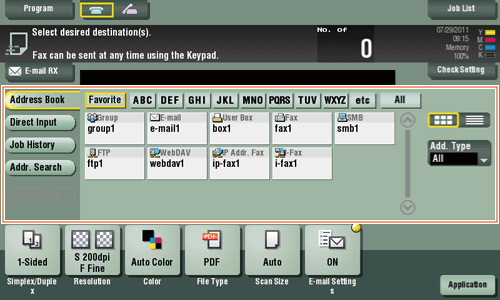
- If necessary, you can change the display of the main screen in fax/scan mode (default: [Address Book]). For details, refer to Here ([Default Tab]).
- Configure Save in User Box options if necessary.
- For details on configuring option settings, refer to the respective columns of the following table.
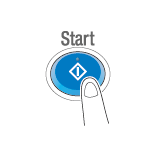
Purpose Reference To configure basic options such as color and original sizeTo configure options to scan various types of originals such as various sizes and booksTo adjust the image quality level of the original such as colored background (newspaper, etc.) or light printing originalTo print date/time and page numberOther option settings - Press the Start key.
- If necessary, tap [Check Setting] before saving, and check the specified destination and settings.
- To redo operations for specifying destinations or option settings, press Reset.
Saving starts.
- If you press the Stop key while scanning an original, the scanning process stops, and a list of stopped jobs appears. To cancel scanning of the original, delete inactive jobs from the list.