User's Guide

Deleting the printer driver
Deletion using the deletion program
If the printer driver was installed using the installer, the deletion function for the printer driver is also installed.
- Administrator privileges are required to perform this task.
- From the Start menu, click [All Programs] (or [Programs]) - [MFP-Printer Utility] - [60C-6Series(PS_PCL_FAX)], or [60C-6Series(XPS)] - [Uninstall Printer Driver].
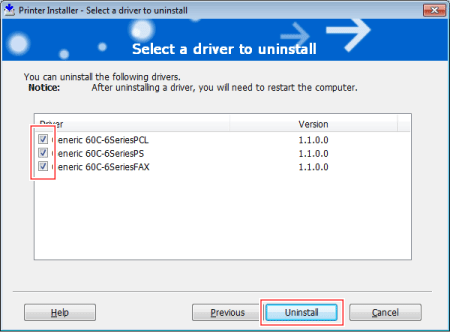
- Select the printer driver you want to delete, then click [Uninstall].
- From then on, follow the instructions on the pages that follow.
- From then on, follow the instructions on the pages that follow.
- If the dialog box prompting to restart the computer, click [OK].
This completes the deletion process of the printer driver.
Deletion using the installer
If you installed the printer driver using the installer, you can delete it using the installer.
- Administrator privileges are required to perform this task.
- Insert the printer driver CD-ROM into the CD-ROM drive of the computer.
- Make sure that the installer starts, and then go to Step 2.
- If the installer does not start, open the printer driver folder on the CD-ROM, double-click [Setup.exe], and then go to Step 3.
- Click [Printer Install].
The printer driver installer starts.
- Click [AGREE] in the license agreement window.
- Select [Uninstall Printer Driver] and click [Next].
- Select the printer driver you want to delete, then click [Uninstall].
- From then on, follow the instructions on the pages that follow.
- If a dialog box prompting you to restart the computer appears, click [OK] to restart the computer.
This completes the deletion process of the printer driver.