
Specifying the Original Size and Scan Method
- Specifying the original size (Original Settings)
- Specifying the original binding position (Binding Position)
- Specifying the original loading direction (Original Direction)
- Scanning originals of varying sizes in a batch (Mixed Original)
- Scanning a number of originals in several batches (Separate Scan)
- Copying multiple originals in different settings collectively (Program Jobs)
Specifying the original size ([Original Settings])
Select the size of the original to be scanned. Select the key that shows the same size as for the original to be scanned.
To scan an original of custom size, manually specify the size.
For details, refer to Here.
Specifying the original binding position ([Binding Position])
When scanning a 2-sided original, specify the binding position of the original in [Binding Position] to prevent the binding position from being reversed between the front and rear faces.
For details, refer to Here.
Specifying the original loading direction ([Original Direction])
When scanning a 2-sided original etc..., you can specify the original loading direction so that the vertical direction is set correctly.
For details, refer to Here.
Scanning originals of varying sizes in a batch ([Mixed Original])
Using the ADF allows you to collectively scan the originals of paper sizes 8-1/2 11 and 8-1/2 14, which have the same width.
For details, refer to Here.

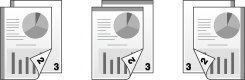
Scanning a number of originals in several batches ([Separate Scan])
If the number of original sheets is so large that they cannot be loaded into the ADF at the same time, you can load them in several batches and handle them as one job.
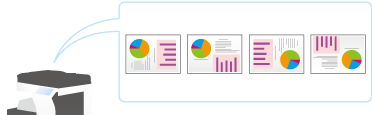
In [Separate Scan], you can switch between the ADF and Original Glass to scan the originals.
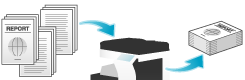
Load the original.

Do not load more than 50 sheets (21-1/4 lb (80 g/m2)) at a time into the Original Tray, and do not load the sheets up to the point where the top of the stack is higher than the
 mark. Doing so may cause an original paper jam, damage the originals, and/or cause an ADF failure.
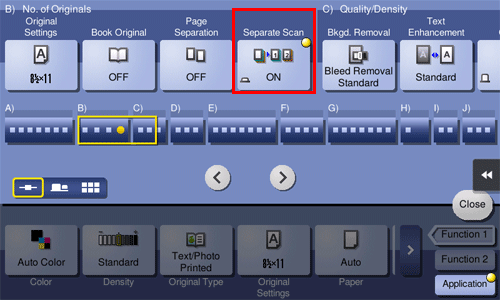
Tap [Application] - [No. of Originals] - [Separate Scan], and set to [ON].
Press the Start key.
The original is scanned.
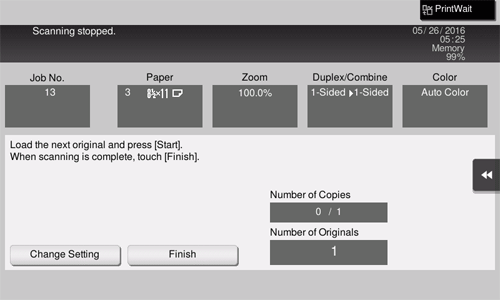
Load the next original, then press the Start key.
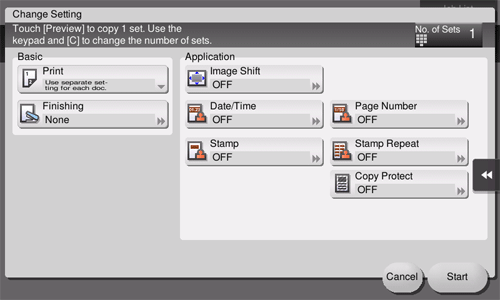
If desired, tap [Change Setting] to change the copy settings according to the new original.
Repeat Step 4 until all originals have been scanned.
After all originals have been scanned, tap [Finish] and press the Start key.
Copying begins.

Copying multiple originals in different settings collectively ([Program Jobs])
Originals are scanned with different settings for each set, and copied collectively. Use this function when various types of originals are mixed, such as 1-sided original to be printed on one side of paper, and 2-sided original to be copied by enlarging. After all originals have been scanned, you can change the finishing setting, for example, by adding page numbers, to make copies.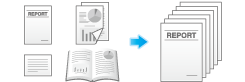
When you set [Program Jobs], [Group] cannot be selected in [Finishing].
Load the original.
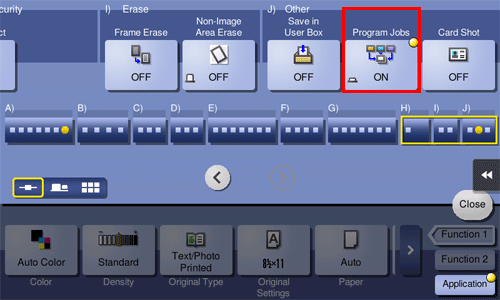
Tap [Application] - [Other] - [Program Jobs], and set to [ON].
Configure the copy settings, then press the Start key.
The original is scanned.
To fix the scan result, tap [Yes].
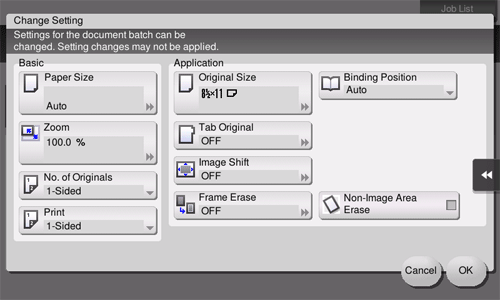
To scan the original again, tap [No]. Tap [Change Setting] to change the copy settings.
Load the next original, then tap [Change Setting].
Configure the copy settings, then press the Start key.
Repeat Steps 3 to 5 until all originals have been scanned.
After all originals have been scanned, tap [Finish].
Tap [Yes].
Specify finish settings as required, then tap [Start].
Copying begins.