
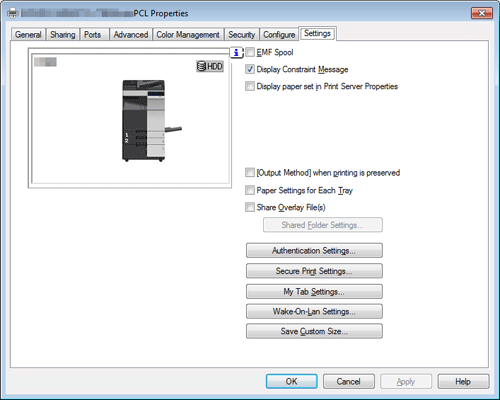
Available Operations in the [Settings] Tab
In the [Settings] tab, you can change the default settings for how confirmation messages are displayed as well as the screen for inputting authentication information.
Settings | Description |
|---|---|
[EMF Spool] | Select this check box when meta file (EMF) spooling is required in your own system environment. |
[Display Constraint Message] | Select this check box to display a message indicating that you have selected printer driver functions that cannot be used together. |
[Display paper set in Print Server Properties] | Select this check box when using the paper added in [Server Properties] in the printer window. |
[[Output Method] when printing is preserved] | The [Output Method] settings in the [Basic] tab are saved. This option is helpful when you want to repeat printing with the same output method settings. |
[Paper Settings for Each Tray] | Clear this check box to select the paper type in [Paper Type] when [Paper Tray] is set to a mode other than [Auto] in the [Basic] tab. |
[Share Overlay File(s)] | To share overlay files, set a shared folder on the network for storing them. |
[Authentication Settings...] | Configure the User Authentication/Account Track settings.
|
[Secure Print Settings...] | Configure the Secure Print settings.
|
[My Tab Settings...] | Configure the display settings for [My Tab] when using [My Tab] of the printer driver.
|
[Wake-On-Lan Settings...] | Configure a setting for the Wake-On-Lan function. The [Awake from ErP] setting must be configured on the machine in advance to use the Wake-On-Lan function. For details, refer to Here.
|
[Save Custom Size...] | If you print on odd size paper, specify the size to register the paper. The registered paper size can be selected from [Original Size] in the [Basic] tab. |

[EMF Spool] is a function of the PCL driver.
[Save Custom Size...] is a function of the PCL driver.
To use the EMF spool function with a PS driver, select the [Enable advanced printing features] check box in the [Advanced] tab to enable the EMF spool function.
The procedure for opening [Server Properties] is as follows:
In Windows 7/8.1/10/Server 2008 R2/Server 2012/Server 2012 R2/Server 2016, select a printer, and click [Print Server Properties] on the toolbar.
In Windows Server 2008, right-click on the area that has nothing displayed in the [Printers] window, then click [Run as administrator] - [Server Properties].The paper set in Print Server Properties for the printer driver is allowable in the following ranges.
Custom sizes available in printer driver:
Width: 3-9/16 to 12-5/8 inches (90.0 to 320.0 mm), Length: 5-1/2 to 18 inches (139.7 to 457.2 mm)
Banner sizes available in printer driver:
Width: 8-1/4 to 11-11/16 inches (210.0 to 297.0 mm), Length: 18 to 47-1/4 inches (457.3 to 1200.0 mm)
Allowable range of large size 1:
Width: 3-9/16 to 8-1/4 inches (90.0 to 209.0 mm), Length: 18 to 46-13/16 inches (457.3 to 1189.0 mm)
Allowable range of large size 2:
Width: 11-11/16 to 12-5/8 inches (297.1 to 320.0 mm), Length: 18 to 46-13/16 inches (457.3 to 1189.0 mm)
Allowable range of large size 3:
Width: 12-5/8 to 33-1/8 inches (320.1 to 841.0 mm), Length: 5-1/2 to 46-13/16 inches (139.7 to 1189.0 mm)
The paper sizes registered in the range of the above custom sizes or banner sizes are available in both [Original Size] and [Paper Size] of the printer driver. However, the paper size registered in the allowable range of each large size is available only in [Original Size] of the printer driver.If you set the function layout on the [My Tab] using the Driver Packaging Utility, each user can use those functions in the same layout.
When creating a driver package with Driver Packaging Utility, move the printer driver that is used as a source of the package to the desired position in My Tab. In [My Tab Settings...], select the [Display My Tab] and [Share My Tab] check boxes, then configure Driver Packaging Utility to copy the printer settings. For details on the Driver Packaging Utility settings, refer to the Driver Packaging Utility Help.

For details on how to edit [My Tab], refer to Here.