
Auto Repeat
This function repeatedly copies the scanned original on paper as many times as possible. The original size can be specified manually, or detected automatically.
When manually specifying the original size:
When repeatedly copying some but not all images in the original, specify the image range.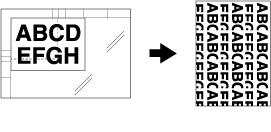
When automatically detecting the original size:
The original size is detected in combination with [No Image Area Erase]. Keep opening the ADF/original cover.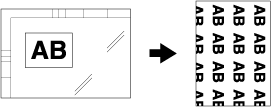
Use the Original Glass. The ADF cannot be used to scan the original.
When the original size is automatically detected, [No Image Area Erase] is turned on automatically.
The [Auto Zoom] button is dimmed and [x1.0] is set automatically. Magnification can be changed manually, however, Image Rotation is unavailable.
Position the original on the original glass.
When automatically detecting the original size, always keep opening the ADF.
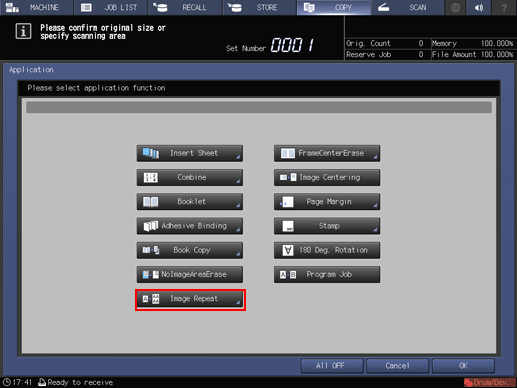
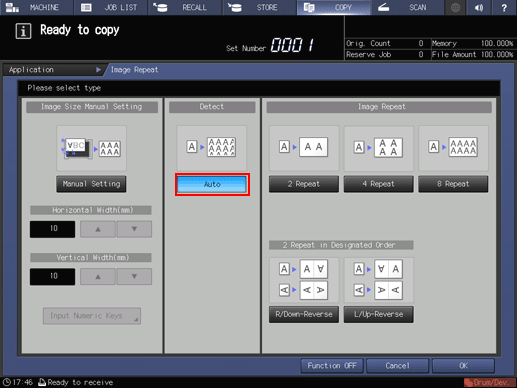
Press [Application] on the [COPY] screen.
Press [Image Repeat] on the [Application] screen.
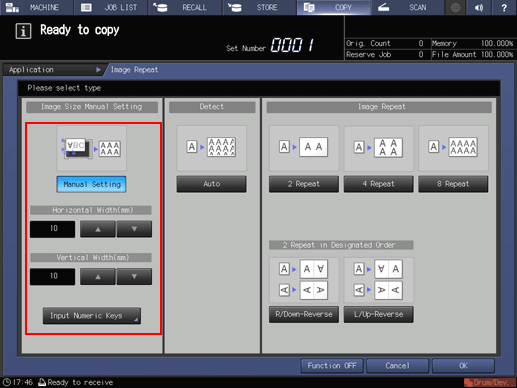
When manually specifying the original size, press [Manual Setting]. When automatically detecting the original size, press [Auto].
If you press [Manual Setting], specify the length and width of the original size.
Enter the distance from the upper left of the Original Glass. Use [
 ] or [
 ] to enter the value in 1 mm increments. If necessary, you can press the [Input Numeric Keys] and type the numeric value using the keypad on the control panel.
Press [OK] to complete the setting.
To resume the original settings, press [Cancel].
To cancel the Image Repeat function with the current setting saved, press [Function OFF].
Press [OK] on the [Application] screen to return to the [COPY] screen.
The [Repeat] icon and shortcut key are displayed under [Application] on the [COPY] screen.
[Auto Zoom] and [Auto Paper] are deselected.
Select an entry in the tray list under [Paper].
Select additional copy conditions, as desired.
Enter the desired print quantity from the keypad on the control panel.
Press Start on the control panel.
Printing does not start without returning to the [COPY] screen. Be sure to display the [COPY] screen.

If the lighting in the work place is directly over the original glass, No Image Area Erase may not function properly. In this case, consult your service representative about an appropriate place for installation.
The administrator can set the machine to obtain the optimum copy result of No Image Area Erase based on the working environment by manually specifying the density level of the original and the erase mode. For details, refer to Erase Operation Setting: Setting the Original Density for Erasing the Outside of the Original.