Printing on envelopes or postcards
The following describes how to load standard-size envelopes or postcards.
Open the file in the application, and click [File]. Then click [Print] from the menu.
Select this product from [Select Printer] (or [Printer Name]) then click [Preferences] (or [Properties]).
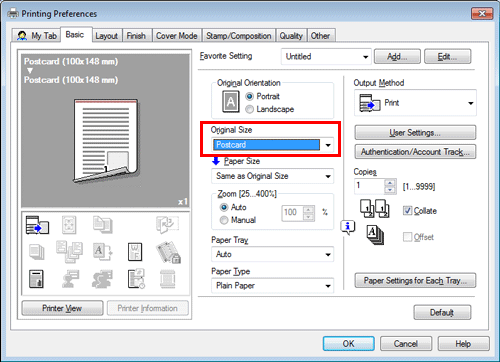
In [Original Size] on the [Basic] tab, select [Envelope] or [Postcard].
Various sizes of envelopes are available. Select the correct paper size for the envelopes you have loaded.
If [Postcard] is selected, [Paper Type] is automatically set to [Thick 3]. If [Envelope] is selected, [Paper Type] is automatically set to [Envelope].
Check that [Paper Size] is set to [Same as Original Size].
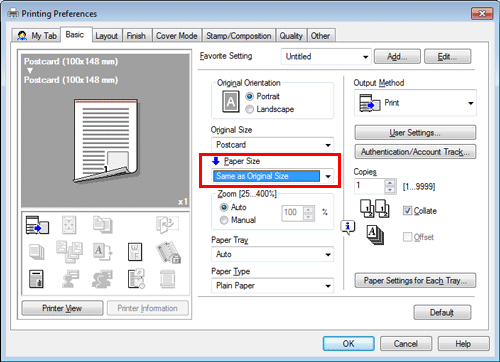
Select [Bypass Tray] from [Paper Tray].

Click [OK].
Execute printing.
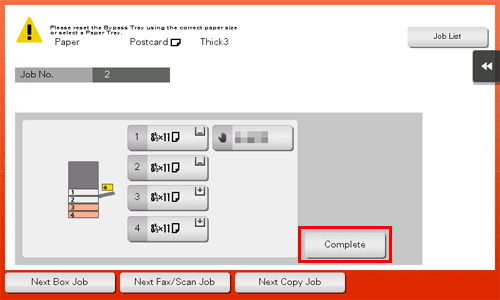
The following screen appears on the Control Panel of this machine.
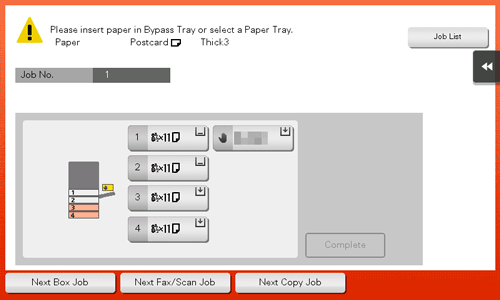
Load envelopes or postcards into the Bypass Tray with the print side facing down.
Insert envelopes or postcards into the tray until their edges are pressed against the back.
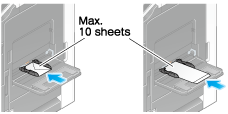
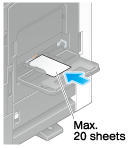

When loading envelopes or postcards into the Bypass Tray, note the following points.
When loading envelopes, remove air from them, and securely press along the flap fold line. Otherwise, it will result in an envelope wrinkle or paper jam.
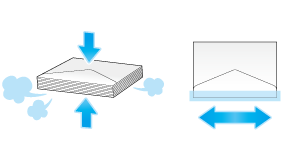
Do not use envelopes that have glue or release paper on the flap or the part covered by the flap on the body. Otherwise, the machine may be damaged or a failure may occur.
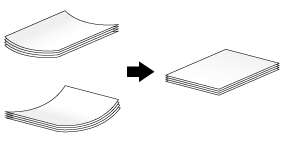
When loading curled postcards, uncurl the postcards as shown in the figure in advance.
Slide the Guide Lever to fit the size of the loaded paper.
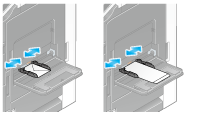
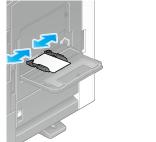

When using the Bypass Tray, note the following points.
Do not put spare envelopes in the Bypass Tray. Doing so causes a size detection error.
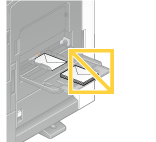
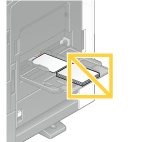
Do not put spare postcards in the Bypass Tray. Doing so causes a size detection error.
Tapping [Complete] starts printing.
If you cannot tap [Complete], check whether the paper setting of the printer driver matches that of the main unit. In addition, remove envelopes or postcards loaded in the Bypass Tray, then reload them.
