
Mode Check: Reviewing Settings before Print
Before printing, you can display the [Mode Check] screen to check the set copy conditions. This is a convenient and cost effective way for making a large amount of copies.
Position the original.
Set the desired copy conditions from the [COPY] screen.
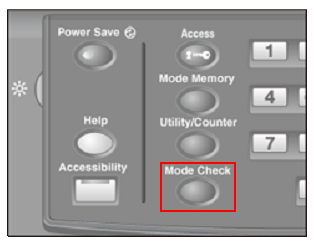
Press Mode Check on the control panel.
The [Mode Check] screen is displayed.
Review the job settings.
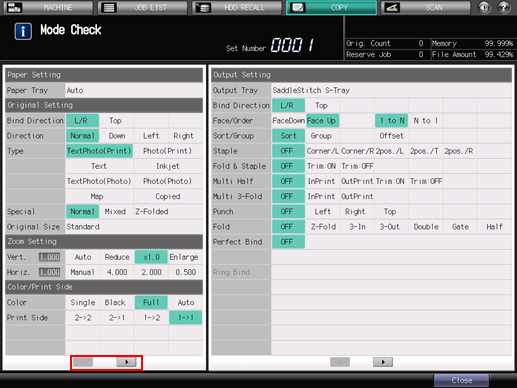
The current settings of [Paper Setting], [Original Setting], [Zoom Setting], [Color/Print Side], and [Quality Adjustment] are displayed in the left side area of the [Mode Check] screen. To switch the display, press [
 ][
][ ] at the bottom of the screen.
The current settings of [Output Setting] and [Application] are displayed in the right side area of the [Mode Check] screen. To switch the display, press [
][] at the bottom of the screen.
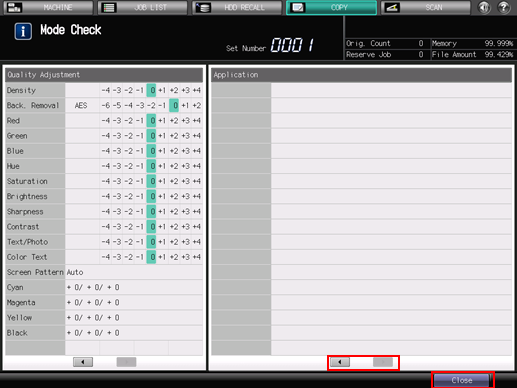
After reviewing the settings, press [Close].
The screen returns to the [COPY] screen.
If no setting change is desired, proceed to step 8.
Navigate to the screen of the setting you need to change, and make it as desired.
Return to the [COPY] screen, then press Mode Check on the control panel.
Be sure to display the [COPY] screen before you access the [Mode Check] screen by pressing Mode Check.
If no further change is required, press Start on the control panel.
You can set the print quantity with the [Mode Check] screen displayed.
The machine starts printing.