
The [Printing Preferences] Screen of the Fax Driver
The following explains the [Printing Preferences] screen.
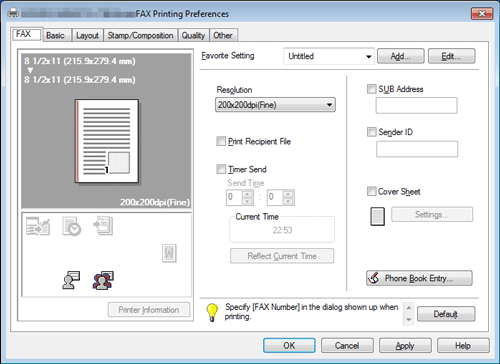
The fax driver has two screens for configuring settings: the [Properties] screen and the [Printing Preferences] screen. This section describes the [Printing Preferences] window.
The [Printing Preferences] window has multiple tabs on each of which related functions are grouped to enable you to configure print functions unique to this machine. To display the [Printing Preferences] window, take the following steps:
Display the printer screen.
In Windows 8.1, click [
 ] in the Start window, then click [Control Panel] - [Hardware and Sound] - [View devices and printers].
In Windows 8, right-click the Start window, then click [All apps] - [Control Panel] - [Hardware and Sound] - [View devices and printers].

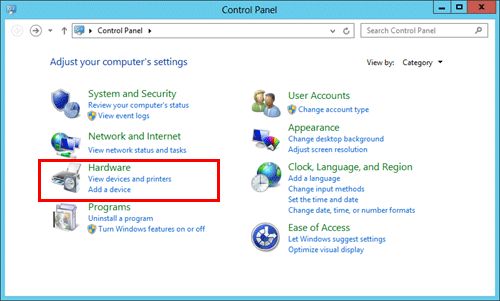
In Windows Server 2012/Server 2012 R2, open the Start window, then click [Control Panel] - [Hardware] - [View devices and printers].
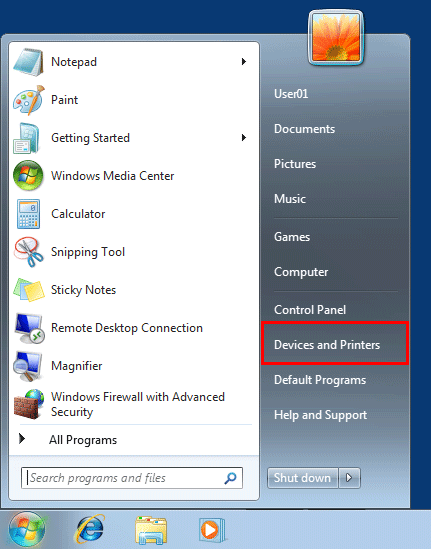
In Windows 7/Server 2008 R2, click the Start menu, then select [Devices and Printers].
If [Devices and Printers] is not displayed, select [Control Panel] - [Hardware and Sound], and click [View devices and printers].
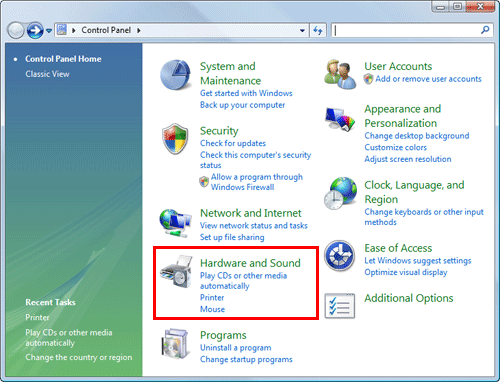
In Windows Vista/Server 2008, click the Start menu, and select [Control Panel] - [Hardware and Sound] - [Printer].
When [Control Panel] is displayed in Classic View, double-click [Printers].
In Windows Server 2003, click the Start menu, then select [Printers and Faxes].
If [Printers and Faxes] is not displayed, select [Control Panel] - [Printers and Other Hardware] - [Printers and Faxes]. When [Control Panel] is displayed in Classic View, double-click [Printers].
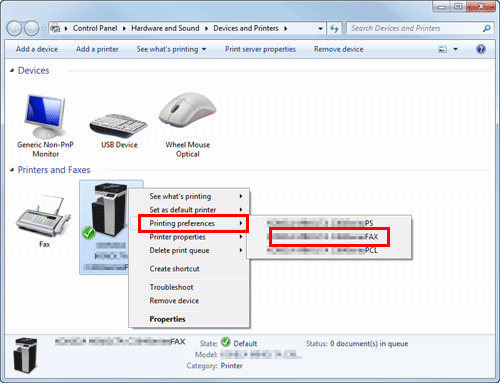
Open [Printing Preferences].
In Windows 7/8/8.1/Server 2008 R2/Server 2012/Server 2012 R2, right-click the icon of the installed printer, and from [Printing Preferences], click the displayed printer name.
In Windows Vista/Server 2003/Server 2008, right-click the icon of the installed printer, and click [Printing Preferences...].
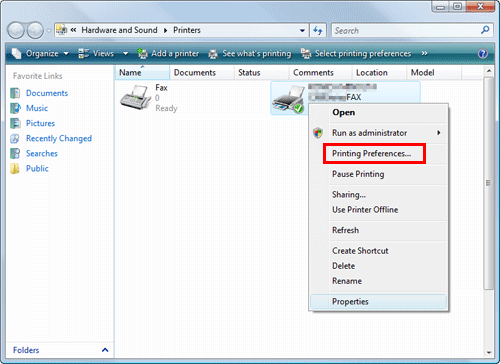
The [Printing Preferences] screen is opened.

The print settings changed here are registered as default values. To temporarily change settings when performing PC-FAX TX from the application software, click [Properties] (or [Preferences]) in the [Print] screen to open the [Printing Preferences] screen.
Items common to each tab
The following explains the commonly used settings and buttons in each tab.
Settings | Description |
|---|---|
[Favorite Setting] | You can register the current print settings as a favorite and recall it when sending a fax. For details on the [Favorite Setting], refer to Here. |
View | Displays the page layout sample with the current settings so that you can check the transmission fax image. |
[Printer Information] | Click this button to start Web Connection and check the printer information. This button is enabled only when your computer can communicate with this machine. |
[OK] | Applies the current changes and closes the setup screen. |
[Cancel] | Discards (or cancels) the current changes and closes the setup screen. |
[Help] | Displays a help of each item of the screen. |
[Default] | Initializes the current settings. |