User's Guide

Managing the Stamp Data
You can register or edit stamp data using Data Managing Utility. Up to eight units of stamp data can be managed.
- You cannot edit or delete stamp data that was registered on this machine when it was shipped.
- In the Web Connection login page, start the [Menage Stamp Data].
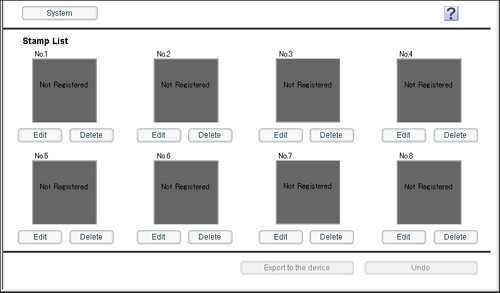
The stamp data list registered on this machine appears.
- To register or edit the stamp data, click [Edit].
- Clicking [Delete] deletes the registered stamp data. The stamp data will not be deleted until you click [Export to the device] and write it to this machine.
- Clicking [Delete] deletes the registered stamp data. The stamp data will not be deleted until you click [Export to the device] and write it to this machine.
- Register or edit the stamp data, and click [OK].
- You can edit data while checking the result in the preview.
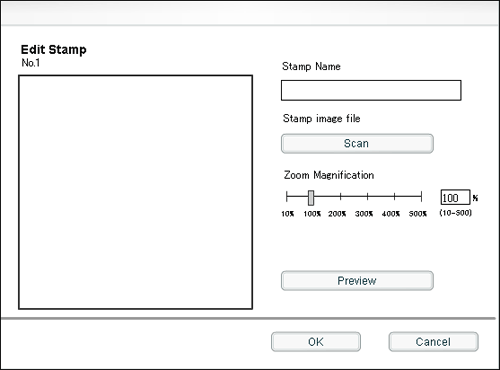
Settings Description [Stamp Name]Enter the stamp name (using up to 16 characters).[Stamp image file]Click [Scan] and specify the location of the image (BMP) file used as a stamp.[Zoom Magnification]Specify the zoom ratio of the stamp image. The ratio can be adjusted in increments of 1%.[Preview]Enlarges a stamp image. You can check the image details. - You can edit data while checking the result in the preview.
- Click [Export to the device].
- Clicking [Undo] returns to the state before the change.
The registered or edited stamp data is written to this machine.
Tips
- Clicking [System] displays the system menu. The following menu items are available in the system menu.
- [Auto Protect Setting]: Lock the computer screen if a specified amount of time has elapsed without the machine being operated. You can change the time until the screen is locked.
- [Export]: Save the data registered on this machine to the computer as a file.
- [Import]: Write the data stored in a file to this machine.
- [Exit]: Exit the utility.