User's Guide

Checking the Finish before Sending
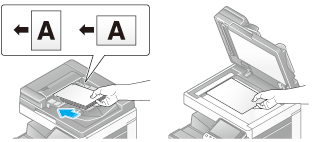
- Load the original.
- Tap [Scan/Fax].

- Specify the destination.
- Configure Scan option settings as necessary.
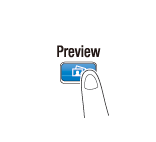
- Press Preview.
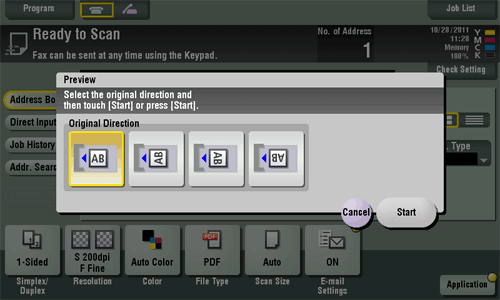
- Select the original direction.
- When the original is loaded into the ADF:
- When the original is loaded onto the Original Glass:
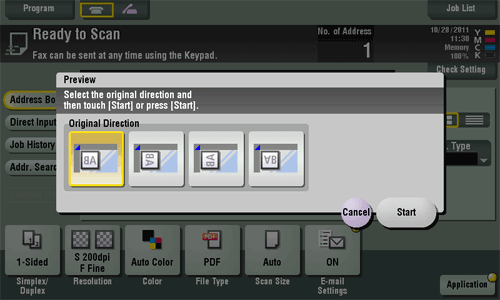
- When the original is loaded into the ADF:
- Tap [Start] or press the Start key.
The original is scanned, and the Preview screen appears.
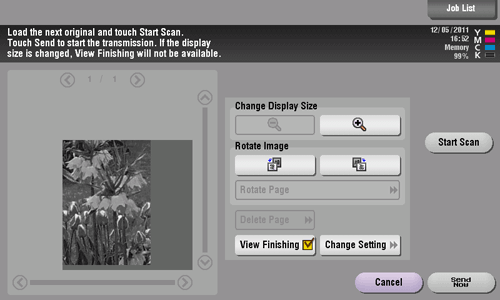
- Tap
 .
.This displays the screen used to change a preview image.
- To continuously scan originals, load the original, then tap [Start Scan].
- To start a transmission, tap [Send Now] or press the Start key.

- Check the preview display, and rotate the image or change settings as needed.
- To continue to scan originals, load the original, and tap [Start Scan].
- To continue to scan originals, load the original, and tap [Start Scan].
- After all originals are scanned, tap [Send Now] or press the Start key.
Transmission begins.