User's Guide

Printing on Banner Paper
Printing on banner paper
This machine accommodates paper with a length of up to 47-1/4 inches (1,200 mm) in the Bypass Tray.

Printable paper
| Paper width | Paper length | Paper weight |
|---|---|---|
8-1/4 to 11-11/16 inches (210 to 297 mm) | 18 to 47-1/4 inches (457.3 to 1,200 mm) | 33-13/16 to 55-7/8 lb (127 g/m2 to 210 g/m2) (Using the printer driver, select the paper type appropriate for the weight of the banner paper to be used. 32-3/16 lb to 41-3/4 lb (121 g/m2 to 157 g/m2): Thick 1+, Thick 1+ (Side 2) 42 lb to 55-5/8 lb (158 g/m2 to 209 g/m2): Thick 2, Thick 2 (Side 2) 55-7/8 lb (210 g/m2): Thick 3, Thick 3 (Side 2)) |
Tips
- When printing data on banner paper, select a paper type appropriate to the banner paper using the printer driver. Then, the [Paper Tray:] is set to [Bypass Tray] and [Resolution:] is fixed to [600dpi].
How to print on banner paper
Register the size of the banner paper, then specify the registered size.
- On the Touch Panel of this machine, tap [Utility] - [Banner Printing].
- Select [Allow], then tap [OK].

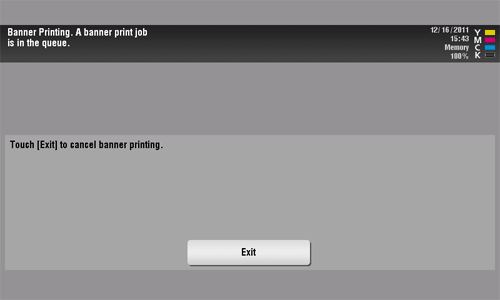
- Check that the screen waiting for banner printing job has appeared.
- If a job is received for printing on paper of a non-banner size while a banner print job is expected, that job is discarded.
- When a banner paper print job is queued, the machine cannot receive a facsimile.
When you have finished the above settings, start to print from the PC.
- In the [Page Setup] (or [Paper Setup]) window, open the window for registering a custom size.
- In Mac OS X 10.4/10.5/10.6/10.7, select [Manage Custom Sizes...] from the Paper Size list.
- In Mac OS X 10.2/10.3, select [Custom Paper Size] from [Settings:].
- Click [+] (Mac OS X 10.4/10.5/10.6/10.7) or [Add] (Mac OS X 10.2/10.3).
- Enter the name of the paper size you are registering.
- Be sure to use paper size names other than existing names, such as A4 and Custom.
- Configure the following items.
- [Page Size] (Paper Size): Specify the width and length as desired.
Specify the paper size within the allowable range of the banner size (Width:8-1/4 to 11-11/16 inches (210 mm to 297 mm), Length: 18 to 47-1/4 inches(457.3 mm to 1,200 mm)). - [Printer Margins]: Specify the top, bottom, right, and left margins of the paper.
- [Page Size] (Paper Size): Specify the width and length as desired.
- Click [OK] (Mac OS X 10.4/10.5/10.6/10.7) or [Save] (Mac OS X 10.2/10.3).
The custom paper size is then registered.
- In [Paper Size] in [Page Attributes], select the registered paper size.
- In Mac OS X 10.5/10.6/10.7, you can also select the paper size from [Paper Size:] in the Print window.
- To display the Print window, click [Print] in the [File] menu.
- Check to see that the custom paper size (registered in Step 8) is shown in the [Destination Paper Size] of [Paper Handling].
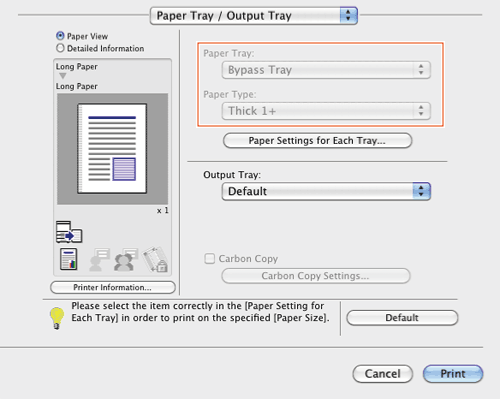
- Check that [Paper Tray:] of [Paper Tray / Output Tray] is set to [Bypass Tray] and that the [Paper Type:] is set to the desired paper type ([Thick 1+]/[Thick 2]/[Thick 3]), and also they are grayed out to prevent them from being changed.
- If the [Paper Type:] is not set to [Thick 1+]/[Thick 2]/[Thick 3], set the paper type in [Paper Settings for Each Tray...].
- If the specified paper size is not in the allowable range of the banner size, [Paper Tray:] or [Paper Type:] is not grayed out to enable you to change them. In this case, check the setting of the custom paper size.
- Execute printing.
A message appears on the Touch Panel to prompt you to load papers.
- Load the banner paper into the Bypass Tray.
- For information on how to load banner paper into the Bypass Tray, refer to Here.
- When you have loaded a banner paper, tap [Complete].
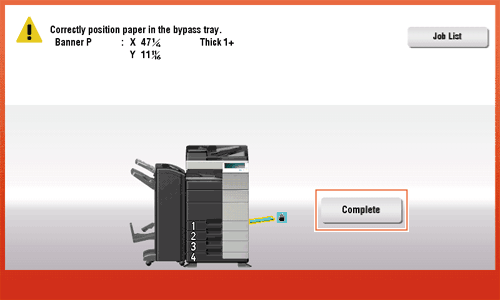
Printing on the banner paper starts. Support the ejected banner paper by hand. To continue printing, execute printing from the computer.
- Tap [Exit].
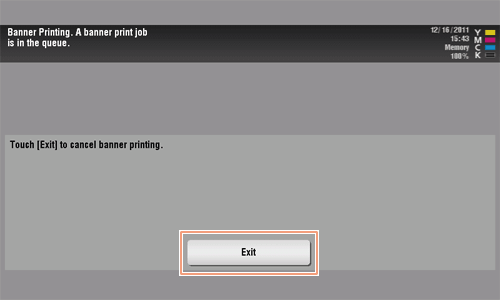
A message confirming the end of banner printing is displayed. To terminate printing, tap [Yes].