Test Printing
Display the printer window.
 In Windows Vista/Server 2008, open the Start menu, then click [Control Panel] - [Hardware and Sound] - [Printers].
When [Control Panel] is displayed in Classic View, double-click [Printers].In Windows 7/Server 2008 R2, click the Start menu, then click [Devices and Printers].
If [Devices and Printers] is not displayed in the Start menu, select [Control Panel] - [Hardware and Sound] - [View devices and printers].In Windows 8.1/10, while pressing the [Windows] ( ) key, press the [X] key, and then click [Control Panel] - [Hardware and Sound] - [View devices and printers] in the displayed menu.In Windows Server 2012/Server 2012 R2, while pressing the [Windows] () key, press the [X] key, and then click [Control Panel] - [Hardware] - [View devices and printers] in the displayed menu.
Right-click the icon of this machine, and click [Properties] (or [Printer Properties]).
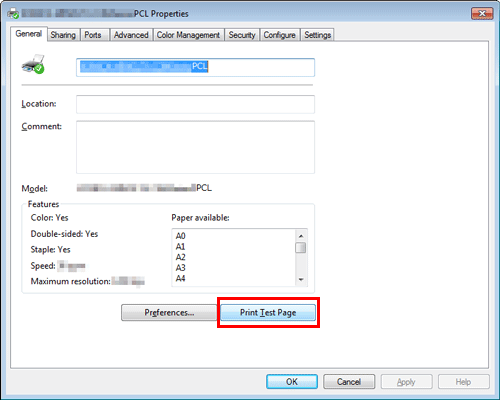
In the [General] tab, click [Print Test Page].
If test printing has succeeded, click [OK].
If test printing has failed, click [Troubleshoot] to find out how to solve the problem.