
Initialize the Fax Driver
Configuring the optional environment of this machine
If you are using this machine for the first time, apply the optional device installation and authentication settings to the fax driver.
Open the [Properties] screen of the fax driver.
For details on how to open the [Properties] screen, refer to Here.
Open the [Configure] tab, and check the optional device installation and authentication settings on this machine.
In Windows Vista/7/8/8.1/Server 2008/Server 2008 R2/Server 2012/Server 2012 R2,[Auto] in [Obtain Settings...] is enabled by default. Thus, the information on this machine is automatically obtained and reflected in [Device Option].
If the [Auto] in [Obtain Settings...] is disabled, clicking [Obtain Device Information], the current information of this machine is obtained and reflected on [Device Option].
In Windows Server 2003, manually configure settings in [Device Option]. Select an item to change from the list, and set a value in the [Setting].
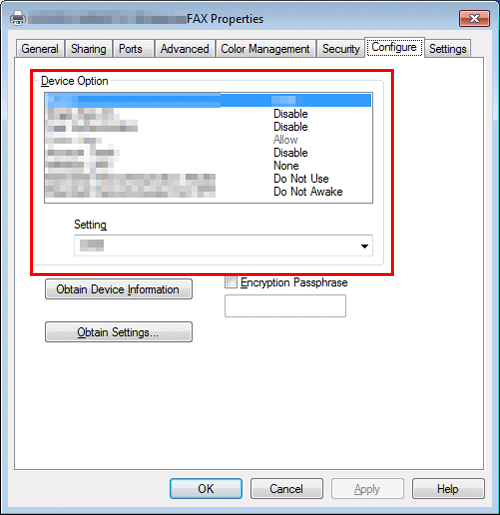
Click [OK].
Change the default print settings
You can change the default print settings of the fax driver if necessary.
For example, if you set to send the initial value with page combination, you can reduce the number of pages printed at the destination. We recommend that you change the default settings to suit your environment.
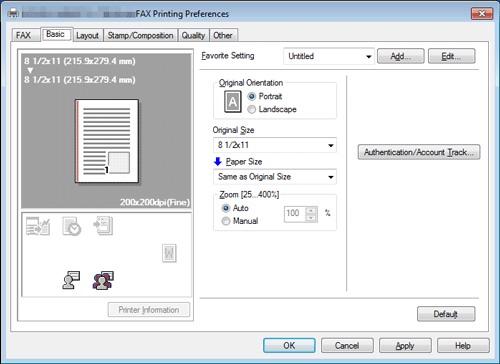
Open the [Printing Preferences] screen of the fax driver.
For details on how to open the [Printing Preferences] screen, refer to Here.
Change the print settings, then click [OK].
All the changes you made will be applied when executing PC-Fax TX using any type of application software.

The fax driver has the function to save favorite settings. For details, refer to Here.