
Printing on Banner Paper
Printing on banner paper
This machine accommodates paper with a length of up to 47-1/4 inches (1200 mm) in the Bypass Tray.
Printable paper
Paper width | Paper length | Paper weight |
|---|---|---|
8-1/4 to 11-11/16 inches (210 to 297 mm) | 18 to 47-1/4 inches (457.3 to 1200 mm) | 33-13/16 to 55-7/8 lb (127 g/m2 to 210 g/m2) |

When printing data on banner paper, select a paper type appropriate to the banner paper using the printer driver. Then, the [Paper Tray] is set to [Bypass Tray] and [Resolution] is fixed to [600dpi].
How to print on banner paper
Specify the banner paper size.
If [ID & Print] is set to [ON] in [ID & Print Settings], printing on banner paper is disabled (default: [OFF]). For details on [ID & Print Settings], refer to Here.
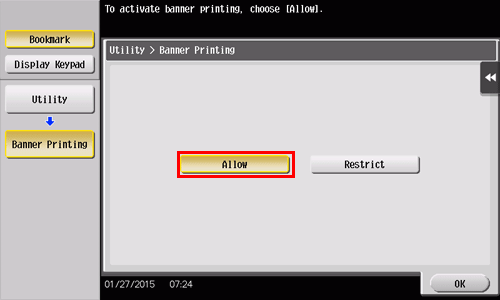
On the Touch Panel of this machine, tap [Utility] - [Banner Printing].
Select [Allow], then tap [OK].
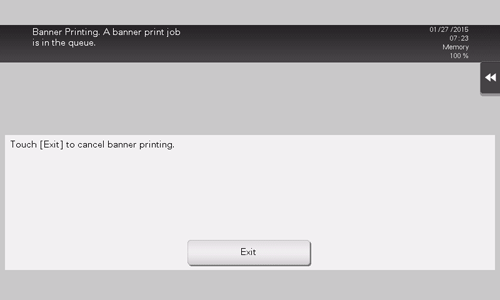
Check that the screen waiting for banner printing job has appeared.
When a banner printing job is queued, the machine can receive the following print jobs, excluding banner printing jobs.
Printing from the computer: Print, Secure Print, Save in User Box, Save in User Box and Print, Proof Print, ID&Print
Direct printing from Web Connection: Print, Secure Print, Save in User Box, Proof Print, ID&Print
When a banner printing job is queued, the machine can receive the following fax jobs.
G3 Fax, Internet Fax, IP Address Fax, PC-Fax
The following jobs remain queued until a banner printing job is released.
Forward TX, Relay Distribution, TSI Routing, Timer TX, PC-Fax TX
When a banner printing job is queued, the following operations cannot be carried out.
Printing, sending, and downloading files in a User Box from Web Connection, WS scan, TWAIN scan
When you have finished the above settings, start to print from the PC.
In [Original Size] in the [Basic] tab, select [Custom Size].
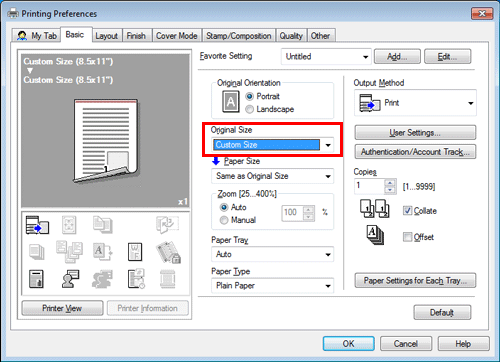
Specify the width and length of the banner paper, and click [OK].
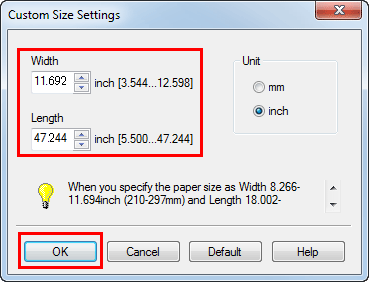
The [Confirm setting changes] dialog box appears.
Click [Yes].
The [Paper Tray], [Paper Type], and [Print Type] settings are switched.
Change the setting of [Paper Type] for Bypass Tray according to the weight of print paper.
If [Resolution] is set to [1200dpi (Rasterize on Device)], it is switched to [600dpi].
Execute printing.
A message appears on the Touch Panel to prompt you to load papers.
Load the banner paper into the Bypass Tray.
For information on how to load banner paper into the Bypass Tray, refer to Here.
When you have loaded a banner paper, tap [Complete].
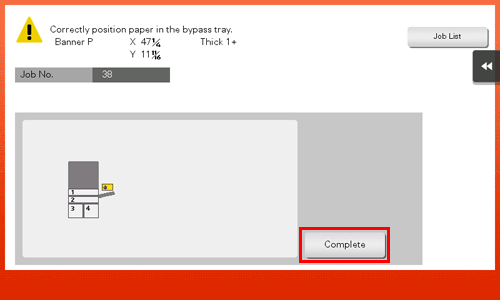
Printing on the banner paper starts. Support the ejected banner paper by hand. To continue printing, execute printing from the computer.
Tap [Exit].
A message confirming the end of banner printing is displayed. To terminate printing, tap [Yes].
If there is a queued job, the job is started.