Q9. Can printing be restricted by user?
How to set
Tap [Utility], then select [Administrator Settings].
Enter the password, then tap [OK].
Select [User Authentication/Account Track] - [General Settings] - [User Authentication].
Select [Authenticate], select an authentication method, then tap [OK].
 The authentication status may be [ON (MFP)], [External Server Authentication], [Main + External Server], [Enhanced Server Authentication], or [Main + Enhanced Server] authentication. For information on server-based user authentication, contact the server administrator.
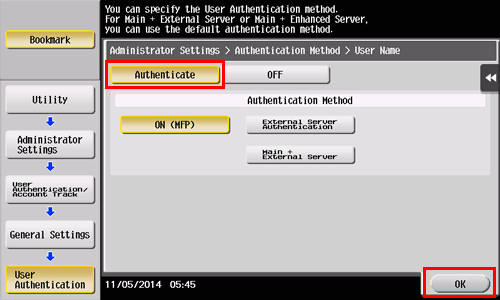
Tap [OK].
Select [Yes], then tap [OK].
Select [User Authentication Settings] - [User Registration].
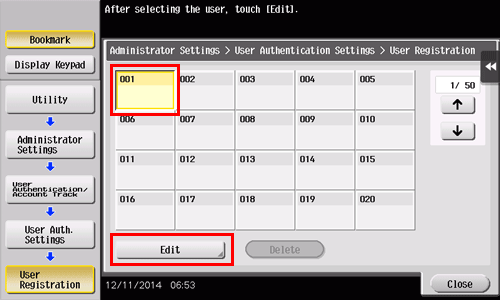
Select the registration number of a target user, then tap [Edit].
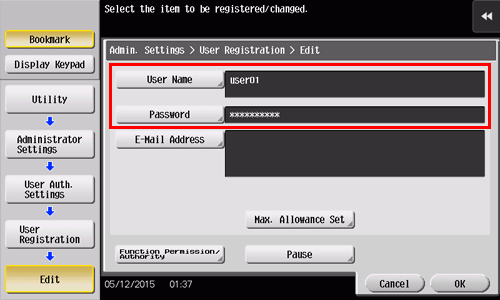
Enter the user name and password in [User Name] and [Password].
 If you have selected a registered user in Step 8, no information has to be entered.
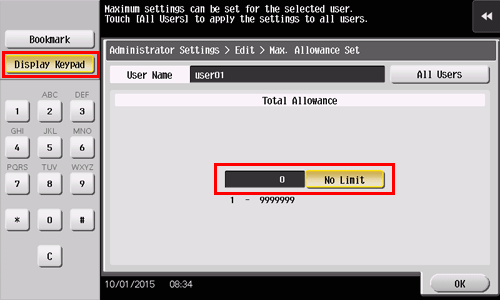
Tap [Max. Allowance Set], then enter the maximum allowance for the number of originals that the user can print, using the Keypad.
Tap [OK].
Tap [Function Permission] to set the limit for the respective functions.
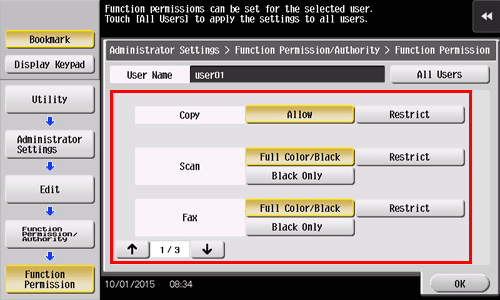
Settings
Description
[Copy]
Specify whether to allow a copy job.
[Scan]
Specify whether to allow a scan job.
[Fax]
Specify whether to allow a fax job.
[Print]
Specify whether to allow a print job for a file.
[User Box]
Specify whether to allow any operation of a file saved in the User Box.
[Print Scan/Fax TX]
Specify whether to allow a print job for a file to send.
[Save to External Memory]
Specify whether to permit saving of files to an external memory.
[External Memory Document Scan]
Specify whether to allow scanning of files saved in the User Box.
[Manual Destination Input]
Specify whether to allow manual input of a destination.
[Web Browser]
Specify whether to allow use of the Web browser.
Tap [OK].
Tap [OK].
 Tips
Tips To use [Fax], the optional Fax Kit is required.