Specifying a Destination
Using Address Book
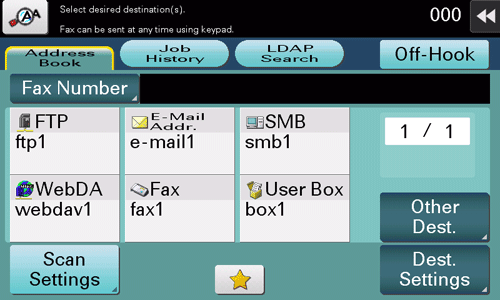
[Address Book] displays a list of destinations registered on this machine. Specify the desired destination from the destinations registered on this machine.
 Tips
Tips Tapping [Other Dest.] filters destinations based on the type of the registered destinations.
Using Job History
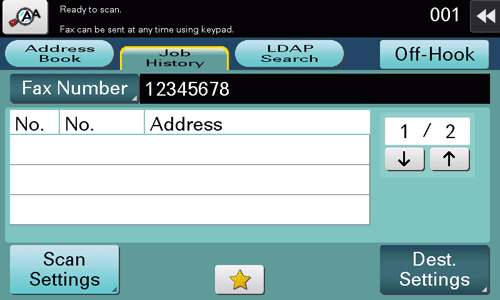
Tapping [Job History] displays a list of transmission logs. Specify the target destination from the previous five job histories.
 Tips
Tips- If a registered destination or a User Box is edited or if the Main Power Switch is turned off or on, the log information is deleted.
Specifying the target from the destinations registered in the LDAP server (LDAP Search)
Tapping [LDAP Search] displays the destination search screen. If the LDAP server or the Active Directory of Windows Server is used for user management, you can search for (LDAP Search) destination information registered in the server and specify the desired destination.
 A presetting is required to use LDAP search. For details on the setting procedure, refer to [Configuring Settings to Search for a Destination via the LDAP Server] .
Tap [LDAP Search] - [Search] or [Advanced Search].
 When using a single keyword for searching, select [Search].When combining search words by category for searching, select [Advanced Search].
Enter the search word, and tap [Start Search].
When selecting [Search]: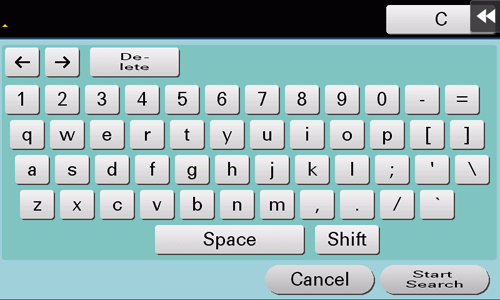 When selecting [Advanced Search]:
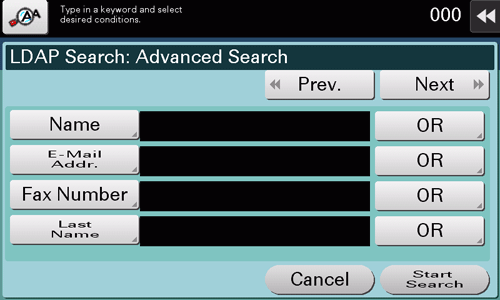
Specify the target destination from the search result.
Directly entering the destination
Tapping [Fax Number] displays the fax number entry screen. Directly enter destination information.
When specifying multiple destinations, tap [Next Dest.] to add destinations.
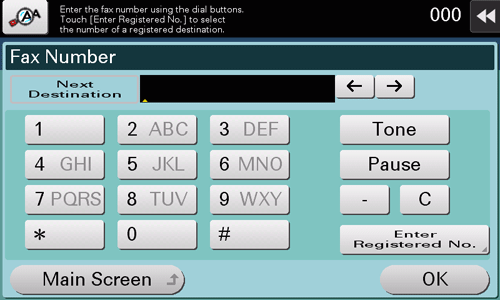
Tips- Tapping [Enter Registered No.] enables you to specify a destination with a registered number.