How to Send
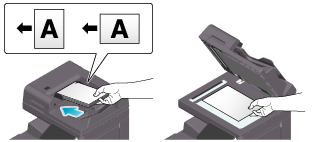
Load the original.
Display the Scan/Fax screen of classic style.
 For details on how to display the screen, refer to [Displaying the Scan/Fax Screen] .
Specify transmission options as needed.
For details on option settings, refer to [Transmission Option Settings] .Select [Direct Input] - [Scan Server].
When sending data via a scan server, you cannot send data to other destinations simultaneously or use a scan/fax program.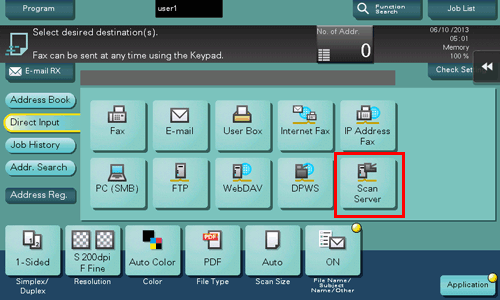
Select a scan process.
A scan process is used to automate a preset scanning workflow such as a distribution destination from a scan server. This is created by the Windows Server application, and registered in Active Directory.Up to 50 scan processes can be obtained. However, multiple scan processes cannot be selected as destinations.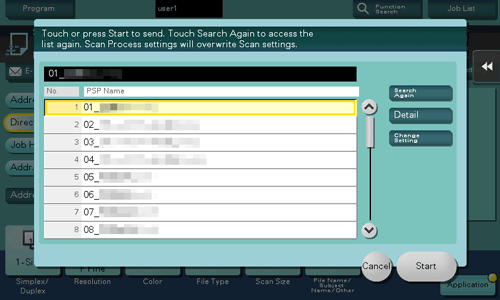 Tapping [Search Again] updates the scan process list.Tapping [Detail] displays the details of the selected scan process.By tapping [Change Setting], you can change option settings such as [Color] and [Scan Size].
Tap [Start].
Transmission begins.
However, sending fails if no scan process is selected or no destination is set to a scan process.