Sending (Basic Operation Flow)
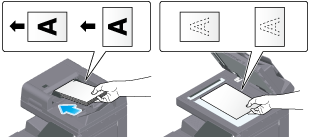
Load the original.
Tap [Internet Fax] on the home screen.

Specify the destination.
 For details on how to specify a destination, refer to [Specifying a Destination] .
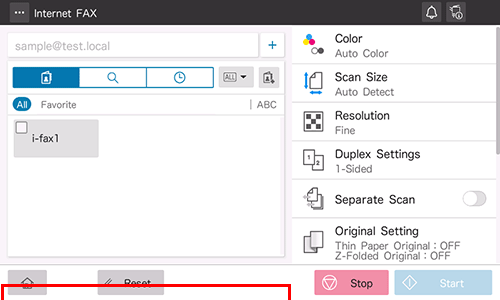
Specify transmission options as needed.
For details on option settings, refer to [Transmission Option Settings] .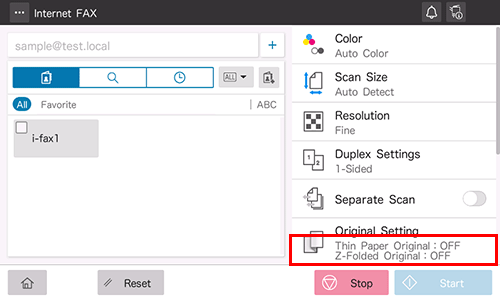
Use the Start key to start transmission.
Using the Stop key enables you to stop scanning the original. A list of the currently stopped jobs is displayed. To stop transmission, select the target job from the list, and delete it.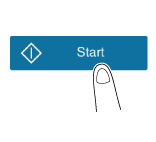
 Tips
Tips When an Internet fax is sent, a TX result report is printed on this machine. With the TX result report, you can check for successful fax transmission.
- When the destination machine receives an Internet fax, an MDN message is printed on this machine. With the MDN Message, you can check that the destination machine receives the fax normally.
 Reference
- About Network Fax Report ( [About Network Fax Report] )
- Changing the default option setting ( [Changing the Default Option Setting] )
Specifying a Destination
Directly entering the destination
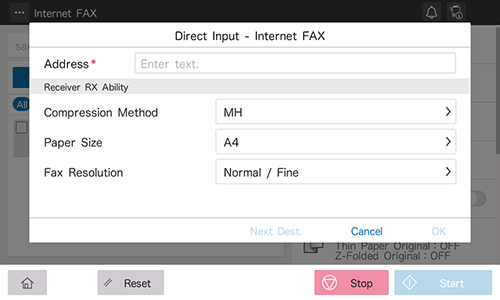
Directly enter destination information.
Tap [+].

Enter destination information.
Setting
Description
[Address]
Enter the E-mail address of the destination (using up to 320 characters, excluding spaces).
[Receiver RX Ability]
Specify the Internet fax receiving ability of the recipient.
- [Compression Method]: Select a compression type available for the destination machine.
- [Paper Size]: Select a paper size available for the destination machine.
- [Fax Resolution]: Select a resolution available for the destination machine.
Tap [OK].
Using Address Book
Selecting the Destination tab ( ) displays a list of destinations registered on this machine. Switch the display using an index, and specify the target destination. For details, refer to [Using Address Book] .
Searching for the registered destination
Tapping the Search tab ( ) displays the destination search screen. If a large number of destinations are registered, the system searches for the registered name of the destination or characters of the address to find the target destination. For details, refer to [Searching for the registered destination] .
Specifying the target from the destinations registered in the LDAP server (LDAP Search)
Tapping the Search tab () displays the destination search screen. If the LDAP server or the Active Directory of Windows Server is used for user management, you can search for destination information registered in the server and specify the desired destination. For details, refer to [Specifying the target from the destinations registered in the LDAP server (LDAP Search)] .
Using Job History
Tapping the History tab ( ) displays a list of transmission logs. Specify the target destination from the previous five job histories. For details, refer to [Using Job History] .