Registering from the Utility
Registering an Internet fax destination
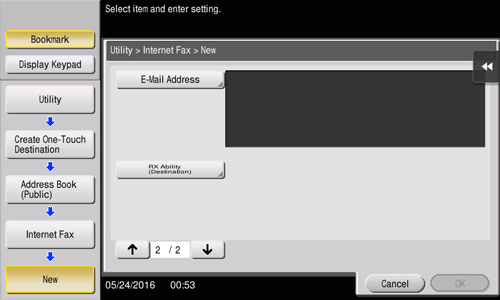
Register destination E-mail addresses.
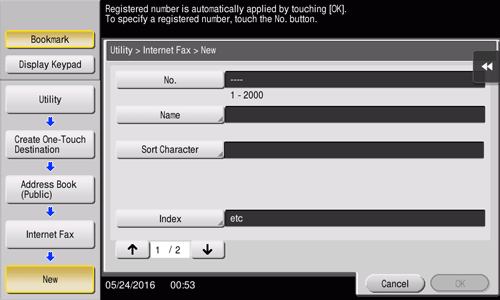
Tap [Utility] - [One-Touch/User Box Registration] - [Create One-Touch Destination] - [Address Book (Public)] - [Internet Fax] - [New].
The administrator can perform the same actions by selecting [Administrator Settings] - [One-Touch/User Box Registration].
Enter destination information, then tap [OK].
For details on registration information, refer to Here.
To check the settings for a registered destination, select its registered name, then tap [Check Job Set.].
To change the settings for a registered destination, select its registered name, then tap [Edit].
To delete a registered destination, select its registered name, then tap [Delete].
You can also register Internet fax destinations using Web Connection. For details, refer to Here.
Registering an IP address fax destination
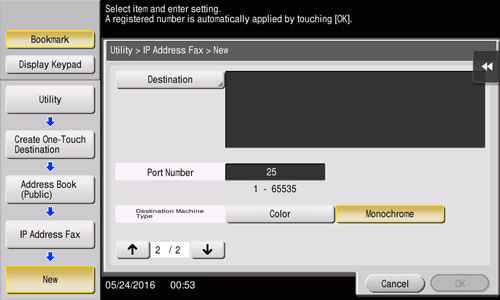
Enter any of the IP address, host name or E-mail address of the destination.
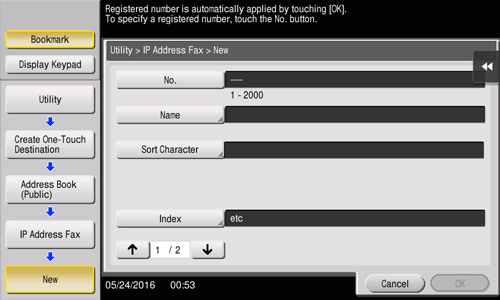
Tap [Utility] - [One-Touch/User Box Registration] - [Create One-Touch Destination] - [Address Book (Public)] - [IP Address Fax] - [New].
The administrator can perform the same actions by selecting [Administrator Settings] - [One-Touch/User Box Registration].
Enter destination information, then tap [OK].
For details on registration information, refer to Here.
To check the settings for a registered destination, select its registered name, then tap [Check Job Set.].
To change the settings for a registered destination, select its registered name, then tap [Edit].
To delete a registered destination, select its registered name, then tap [Delete].
You can also register IP address fax destinations using Web Connection. For details, refer to Here.


