Sending (Basic Operation Flow)
Load the original.
 When loading the original into the ADF, pull out the Document Stopper (1) to prevent the scanned original from falling.
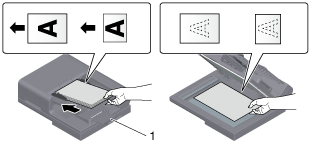
Tap [IP Address Fax] on the home screen.

Specify the destination.
For details on how to specify a destination, refer to [Specifying a Destination] .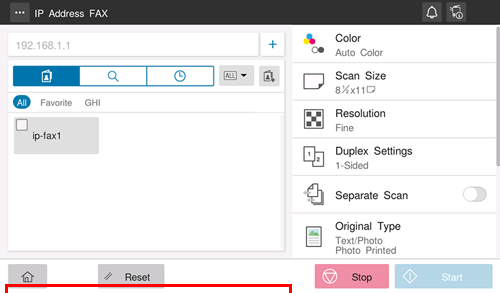
Specify transmission options as needed.
Specify the size of the target original in [Scan Size] (default: [8-1/2  11] (inch area)/[A4] (centimeter area)). If you fail to set the original size correctly, the image may be cut off.For details on option settings, refer to [Transmission Option Settings] .
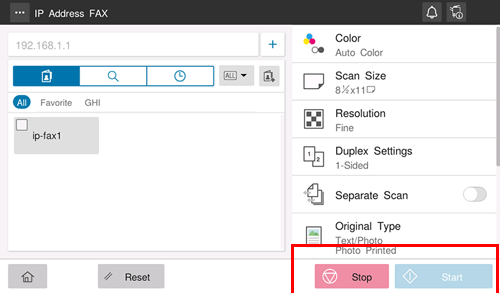
Use the Start key to start transmission.
Using the Stop key enables you to stop scanning the original. A list of the currently stopped jobs is displayed. To stop transmission, select the target job from the list, and delete it.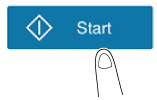
 Reference
 Resending a Fax ( [Resending a Fax] )
- Changing the default option setting ( [Changing the Default Option Setting] )
Specifying a Destination
Directly entering the destination
Directly enter destination information.
Tap [+].

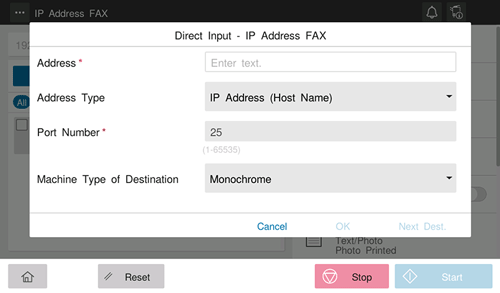
Enter destination information.
Setting
Description
[Address]
Enter the destination address.
- If [IP Address (Host Name)] is selected for [Address Type], enter the destination IP address or host name.
Example to enter the IP address (IPv4): "192.168.1.1"
Example to enter the IP address (IPv6): "fe80::220:6bff:fe10:2f16"
Example to enter the host name: "host.example.com" (Include the domain name to enter.) - If [E-mail Address] is selected for [Address Type], enter the destination E-mail address. To specify a destination using an E-mail address, enter the recipient's IP address following "ipaddrfax@". To enter an IP address, enclose it with brackets [ ].
Example to enter the IP address (IPv4): "ipaddrfax@[192.168.1.1]"
Example to enter the IP address (IPv6): "ipaddrfax@[fe80::220:6bff:fe10:2f16]"
The host name cannot be entered following the "@" symbol of the E-mail address.
[Address Type]
Select the format to specify the destination address (default: [IP Address (Host Name)]).
[Port number]
If necessary, change the port number (default: [25]).
[Machine Type of Destination]
Select whether the destination machine supports the color mode (default: [Monochrome]).
Tap [OK].
Using Address Book
Selecting the Destination tab ( ) displays a list of destinations registered on this machine. Switch the display using an index, and specify the target destination. For details, refer to [Using Address Book] .
Searching for the registered destination
Tapping the Search tab ( ) displays the destination search screen. If a large number of destinations are registered, the system searches for the registered name of the destination or characters of the address to find the target destination. For details, refer to [Searching for the registered destination] .
Using Job History
Tapping the History tab ( ) displays a list of transmission logs. Specify the target destination from the previous five job histories. For details, refer to [Using Job History] .