
Printing on Banner Paper
About printing on banner paper
This machine accommodates paper with a length of up to 47-1/4 inches (1200 mm) in the Bypass Tray.
Printable paper
Paper width | Paper length | Paper weight |
|---|---|---|
3-9/16 to 11-11/16 inches (90 mm to 297 mm) | 18 to 47-1/4 inches (457.3 mm to 1200 mm) | 33-13/16 to 55-7/8 lb (127 g/m2 to 210 g/m2) Using the printer driver, select the paper type appropriate for the weight of the banner paper to be used.
|
How to print on banner paper
Register the size of the banner paper, then specify the registered size.
On the screen of this machine, tap [Utility] - [Banner Printing].
Select [Allow], and tap [OK].
Check that the system is changed to the banner print job wait state.
When you have finished the above settings, start to print from the PC.
In the [Page Setup] window, open the window for registering a custom size.
Select [Manage Custom Sizes...] from the Paper Size list.
Click [+].
Enter the name of the paper size you are registering.
Be sure to use paper size names other than existing names, such as A4 and Custom.
Configure the following items.
[Page Size:]: Specify the length and width as desired.
Specify the paper size within the allowable range of the banner size (Width: 3-9/16 to 11-11/16 inches (90 mm to 297 mm), Length: 18 to 47-1/4 inches (457.3 mm to 1200 mm)).
[Non-Printable Area:]: Specify the top, bottom, right, and left margins of the paper.
Click [OK].
The custom paper size is then registered.
In [Paper Size:] in [Page Attributes], select the registered paper size.
The registered paper size can also be selected in [Paper Size:] on the print screen.
To display the Print window, click [Print] in the [File] menu.
Check to see that the custom paper size (registered in Step 8) is shown in the [Destination Paper Size] of [Paper Handling].
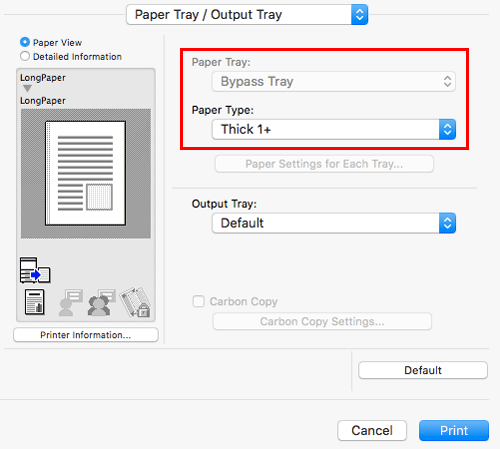
Check that [Paper Tray:] of [Paper Tray / Output Tray] is set to [Bypass Tray] and that the [Paper Type:] is set to the desired paper type ([Thick 1+]/[Thick 2]/[Thick 3]).
If the specified paper size is not in the allowable range of the banner size, [Paper Tray:] or [Paper Type:] is not grayed out to enable you to change them. In this case, check the setting of the custom paper size.
Execute printing.
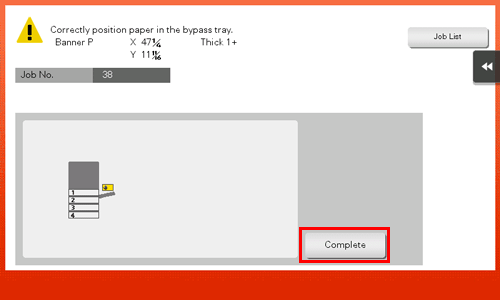
A message that prompts you to load paper is displayed on the screen of this machine.
Load the banner paper into the Bypass Tray.
For information on how to load banner paper into the Bypass Tray, refer to Here.
When you have loaded a banner paper, tap [Complete].
Printing on the banner paper starts. Support the ejected banner paper by hand. To continue printing, execute printing from the computer.
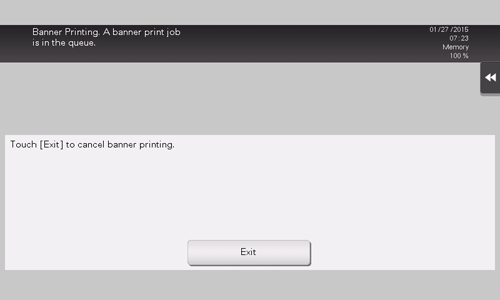
Tap [Exit].
A message confirming the end of banner printing is displayed. To terminate printing, tap [Yes].
If there is a queued job, the job is started.