
Scan Mode Memory: Locking and Deleting Scan Mode Memory
Lock a scan mode memory not to delete accidentally, and unlock the lock. Also, delete an unnecessary scan mode memory.

For details about how to register a scan mode memory, refer to Mode Memory: Register/Call Scan Settings.
Follow the procedure on Administrator Setting to display the [Administrator Setting Menu] screen.
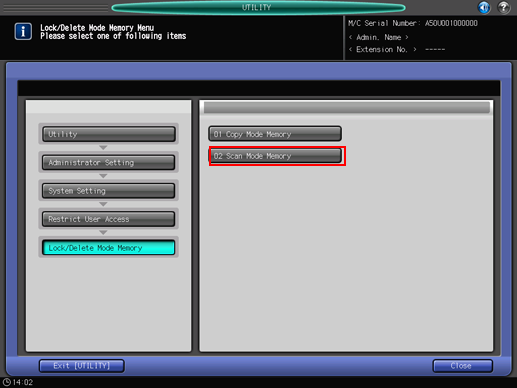
Press [System Setting] on the [Administrator Setting Menu] screen, and then press [Restrict User Access], [Lock/Delete Mode Memory], and [Scan Mode Memory] in sequence.
Lock or unlock a mode memory.
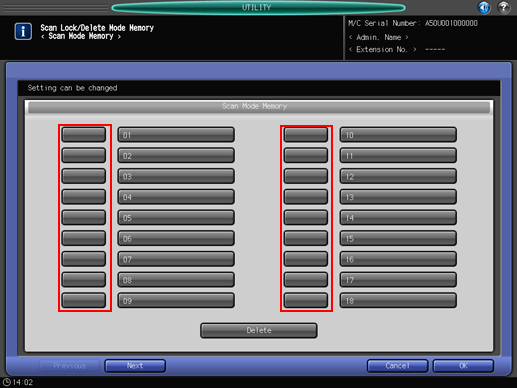
Each mode memory has its registered name to the right of the entry number.
To lock an entry, press the key to the left of the mode memory.
Once the mode memory is locked, a lock mark is displayed.
To unlock an entry, press the key on which a lock mark is displayed.
Once the mode memory is unlocked, a lock mark disappears.
Delete a mode memory.
Select a mode memory, and then press [Delete].
To delete a locked mode memory, unlock and then delete.
You can set up to 30 entries in Mode Memory.
To switch pages, press [Next] or [Previous].

Once you delete a memory mode, you cannot restore it.
Press [OK] to complete the setting.
To cancel the change, press [Cancel].
In either case, the screen returns to the [Lock/Delete Mode Memory Menu] screen.