
Date/Time: Printing Date and Time
Print date and time onto the specified position of copies.
Position the original.
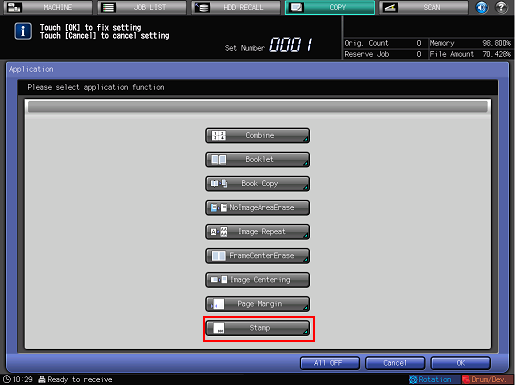
Press [Application] on the [COPY] screen.
Press [Stamp] on the [Application] screen.
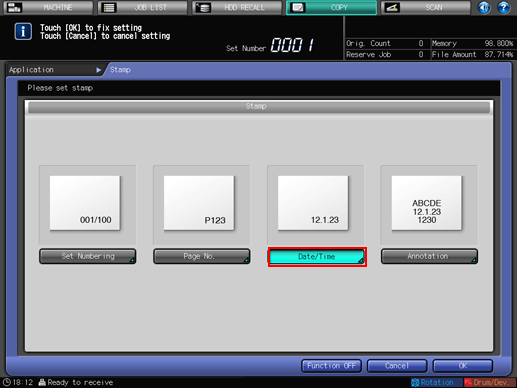
Press [Date/Time].
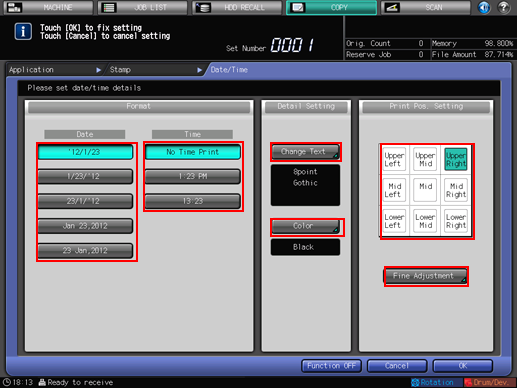
Specify [Format], [Detail Setting] ([Change Text], [Color]), and [Print Pos. Setting] for Date/Time.
Setting options
Description
[Format]
Select one of the five date type keys and one of the three time type keys in the Format area.
[Change Text]
Press [Change Text] to select the desired [Text Size] and [Font].
[Color]
Press [Color] to select the desired color from [Yellow], [Magenta], [Cyan], [Black], [Red], [Blue], and [Green].
[Print Pos. Setting]
Select one of the 9 printing positions provided under [Print Pos. Setting]. If fine adjustment is desired, press [Fine Adjustment].
For details about setting Fine Adjustment, Start Number of Page No., and Change Text, refer to Detailed Setting in Stamp.
Press [OK] twice to complete the setting.
To resume the original settings, press [Cancel].
To cancel the Stamp function with the current setting saved, press [Function OFF].
Press [OK] on the [Application] screen to return to the [COPY] screen.
The [Stamp] icon is displayed under [Application] on the [COPY] screen.
Enter the desired print quantity from the keypad on the control panel.
Press Start on the control panel.
Printing does not start without returning to the [COPY] screen. Be sure to display the [COPY] screen.