
Adjustment of [Registration Loop]
If the paper is bent or wrinkled when printed, adjust [Registration Loop].
Adjust [Registration Loop] before performing [Scan Meas.] adjustment, [Gap] adjustment, [Chart Adjustment] or [Zoom]/[Image Shift] adjustment.
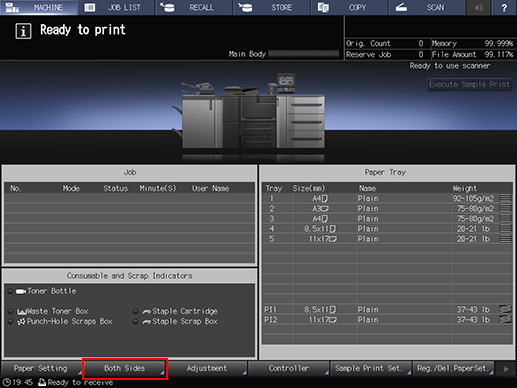
Press [Both Sides] on the [MACHINE] screen.
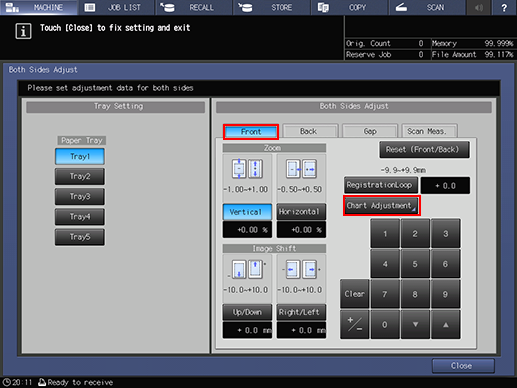
Select the tray in which the papers to be adjusted have been set.
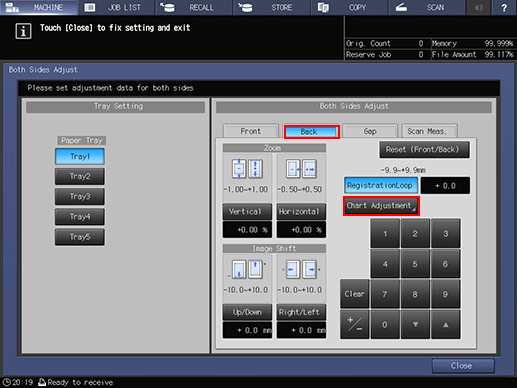
Press [Front], and then press [Chart Adjustment].
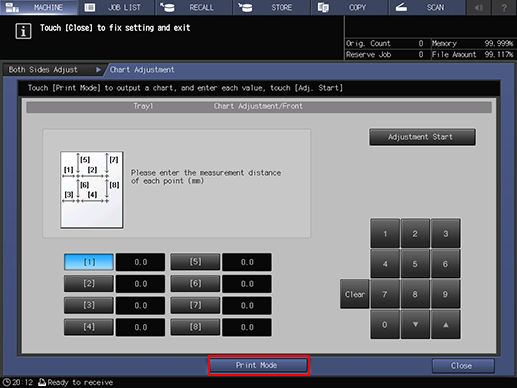
Press [Print Mode].
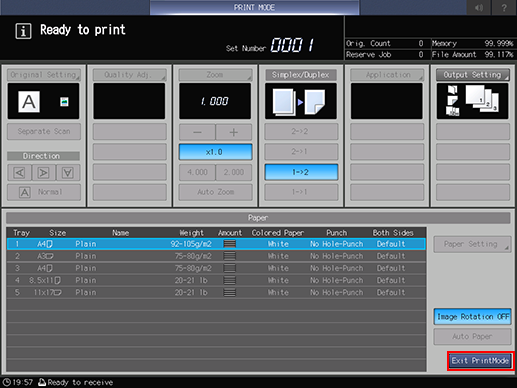
Press Start on the control panel.
A test chart is printed.
Press [Exit PrintMode].
Press [Close].
Check whether or not the printed chart paper has been bent or wrinkled.
If the paper is bent or wrinkled, press [Registration Loop] and then use the touch panel keypad, [
 ], [
], [ ], or the keypad on the control panel to enter the adjustment value.
Adjustment range: (To make loop smaller) -9.9 to +9.9 mm (To make loop larger)
If the paper has been bent, make the loop larger. If the paper has been wrinkled, make the loop smaller.
Use [+/-] to specify the value to be positive or negative.
Press [Clear] to reset the value.

If the amount of loop is too large, the paper may be folded or wrinkled. If the amount of loop is too small, the paper may be bent. Keep that in mind.
Repeat steps 3 to 9 until the desired result is obtained.
In the next step, adjust the back side.
Press [Back], and then press [Chart Adjustment].
Repeat steps 4 to 9 until the desired result is obtained.
In step 9, change [Front] to [Back] and then enter a value.
Now, the [Registration Loop] adjustment is completed.
If you continue on [Both Sides Adjust], refer to Scan Meas. adjustment, Gap adjustment, Chart Adjustment or Zoom/Image Shift Adjustment.