
Adhesive Binding: Making Copies in the Order of Adhesive Binding
When performing 2-sided copying for an original of multiple sheets, the longer side of paper is divided into two parts to print an original image. The copied sheets are arranged in the page order (adhesive binding) of the original when each sheet is folded in half and stacked.
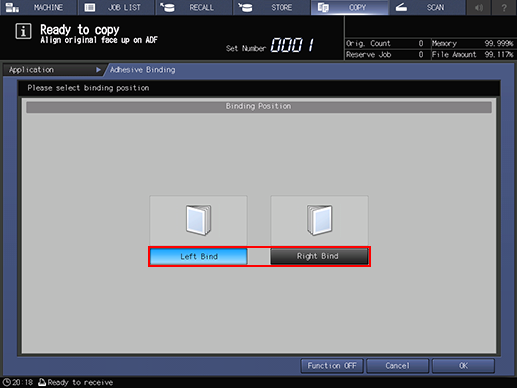
Select either [Left Bind] or [Right Bind] according to the desired booklet type.
Setting options | Original | Output |
|---|---|---|
[Left Bind] |  |  |
[Right Bind] | |  |
Use ADF. Use [Separate Scan] if the original page count exceeds 150. Combined with the Separate Scan mode, the original glass will also be available.
Original pages should be a multiple of 4 in [1->2] mode or a multiple of 2 in [2->2] mode. If that is insufficient, blank pages are automatically inserted at the end.
Auto Zoom is automatically selected.
Position the original.
Load the desired copy paper size in a tray.
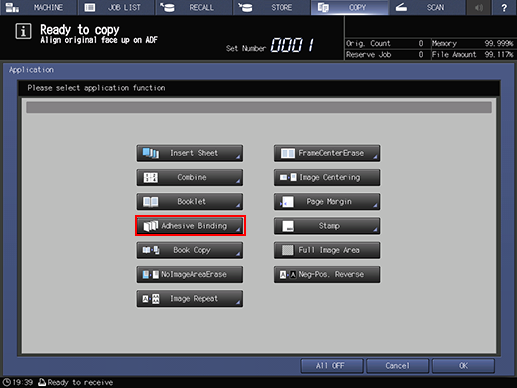
Press [Application] on the [COPY] screen.
Press [Adhesive Binding] on the [Application] screen.
Press the desired binding position key.
Press [Left Bind] or [Right Bind] if you want to change the output order.
Press [OK] to complete the setting.
To resume the previous settings, press [Cancel].
To disable the Adhesive Binding function while keeping the current setting, press [Function OFF].
Press [OK] on the [Application] screen to return to the [COPY] screen.
The [Adhesive Binding] icon and shortcut key are displayed under [Application] on the [COPY] screen.
Select [Simplex/Duplex] original.
Select [1->2] or [2->2] according to the original type placed in the ADF in step 1.
Select additional copy conditions, as desired.
Enter the desired print quantity from the keypad on the control panel.
Press Start on the control panel.
Printing does not start without returning to the [COPY] screen. Be sure to display the [COPY] screen.