
Setting Up LDAP
Click [LDAP Setting] - [Setting Up LDAP] on the menu of [Network] tab to display this screen.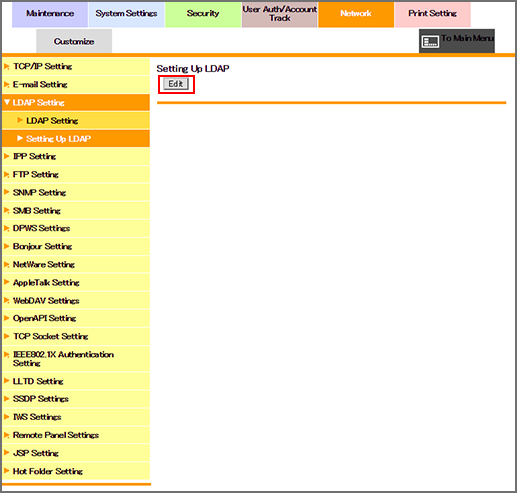
Sets the LDAP server information, and checks the connection.
Click [Edit].
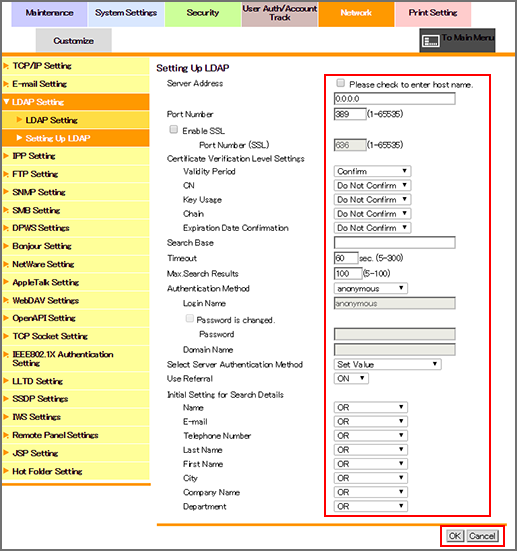
Enter the LDAP server address. To enter the host name, select the [Please check to enter host name.] checkbox. You can specify a port number if necessary.
To use SSL, select the [SSL Setting] checkbox, and specify a port number if necessary.
If you want to verify certificates for communication via SSL, specify whether to confirm the items to be verified.
Specify the start point of search in [Search Base] when you select users to authenticate. Up to 255 one-byte characters can be used.
Input example: "cn=users,dc=example,dc=com"
Specify [Timeout] and [Max. Search Results] if necessary.
Select an authentication method used for the login to the LDAP server from [Authentication Method].
Specify [Login Name], [Password], and [Domain Name] according to the authentication method.
Select the authentication method of the LDAP server from [Select Sever Auth.Method]. If you have selected [Use Dynamic Verification], the user name and password are requested when you use LDAP search.
If necessary, select whether to use the referral function or not.
In the default settings for search, specify whether to include the name or other items.
Click [OK]. Clicking [Cancel] cancels the setting.
Click [OK] on the setting complete screen.
Click [Check communication] to check that the registered LDAP server can be accessed.