
Importing a Job File
You can import the file on the computer to a hold job, secure job, or HDD job.
The imported file can be changed its setting and printed.
Available file formats to be imported are PS, PDF, TIFF, and TIF.
Select [Import] from the [File] menu on the [Job Centro] screen.
The [Import] screen is displayed.
For details about the [Import] screen, refer to Import Screen.
Click [Add].
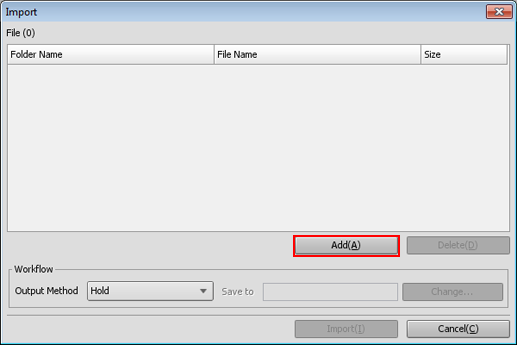
The [Select Import File] screen is displayed.
For details, refer to Import Screen.
Specify the job file to be imported, and click [OK].
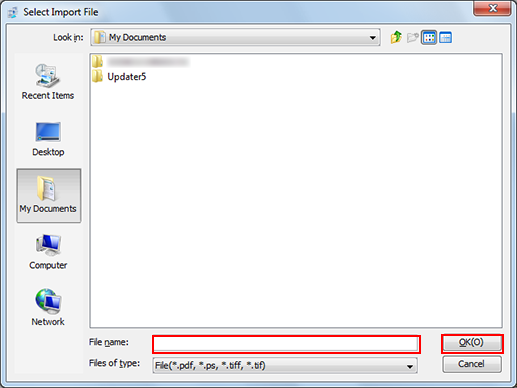
The [Select Import File] screen closes and the screen returns to the [Import] screen.
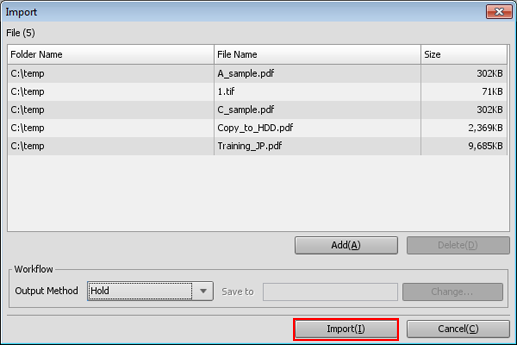
On the list of [Import] screen, the added file is displayed.
With the same operation as Step 2 to Step 3, display all job files you import on the list of [Import] screen.
Up to 300 files can be imported.
If the sum of the number of the files displayed in the file list on the [Import] screen and the number of the files selected on the [Select Import File] screen is 301 or more, a warning is displayed.
You can select and import more than one file at a time.
When you remove the job file from the list, select the job file and click [Delete].
Specify [Output Method] for a job file.
Select Hold, Secure Print, or HDD Store.
If Secure Print or HDD Store is selected, also specify destination [Save to].
Click [Import].
When the HDD encryption mode is set to [ON] in the machine, Import is available.

If [Password Rules Setting] is set to [Enable] in [Quick Security Setting] of the UTILITY menu, you cannot import jobs without a password or jobs with a password that has been created against rules.
For details about [Quick Security Setting], refer to Quick Security Setting.