User's Guide

Printing Operation Flow
- Open document data using the application software. From the [File] menu, select [Print].
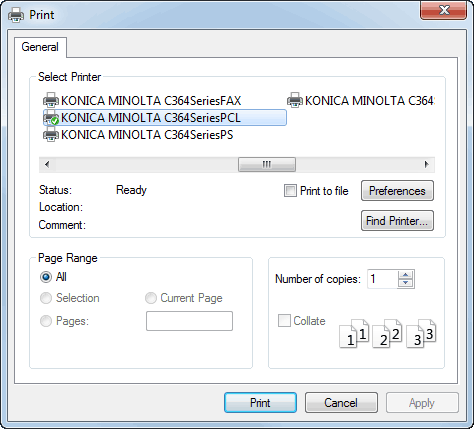
- Check the [Printer Name] (or [Select Printer]) and make sure that the desired printer has been selected.
- The [Print] dialog box varies depending on the application software.
- The [Print] dialog box varies depending on the application software.
- Specify the print range and the number of copies to print.
- Click [Properties] (or [Preferences]) to change the print settings of the printer driver as necessary.
- The print settings you have changed here are reset to the defaults when you exit the application software. For information on how to change the default values of print settings, refer to Here.
- The printer driver has the function to easily recall frequently used print settings. For details, refer to Here.
- Click [Print].
Printing is executed.
Reference
- When [Secure Print Only] is set to [On] in [Device Option] in the [Configure] tab, the [Secure Print] window appears. In the [Secure Print] window, enter the ID and password to start printing.
- For details on Secure Print, refer to Here.
- The XPS driver has the function that enables you to preview and check the print image before starting printing. For details, refer to Here.